(or any time of year!)
Even in Canada with our short growing season, even if you live in an apartment or a small space with no land, there are ways to grow your own cheap, nutritious food indoors year-round.
Scraps
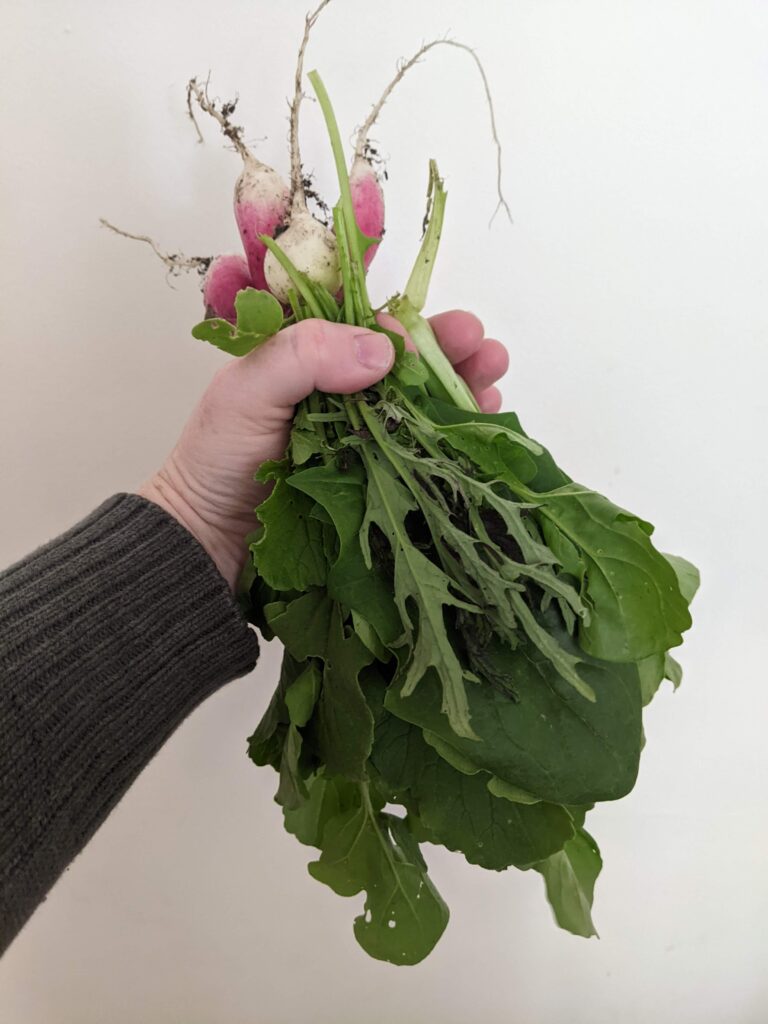
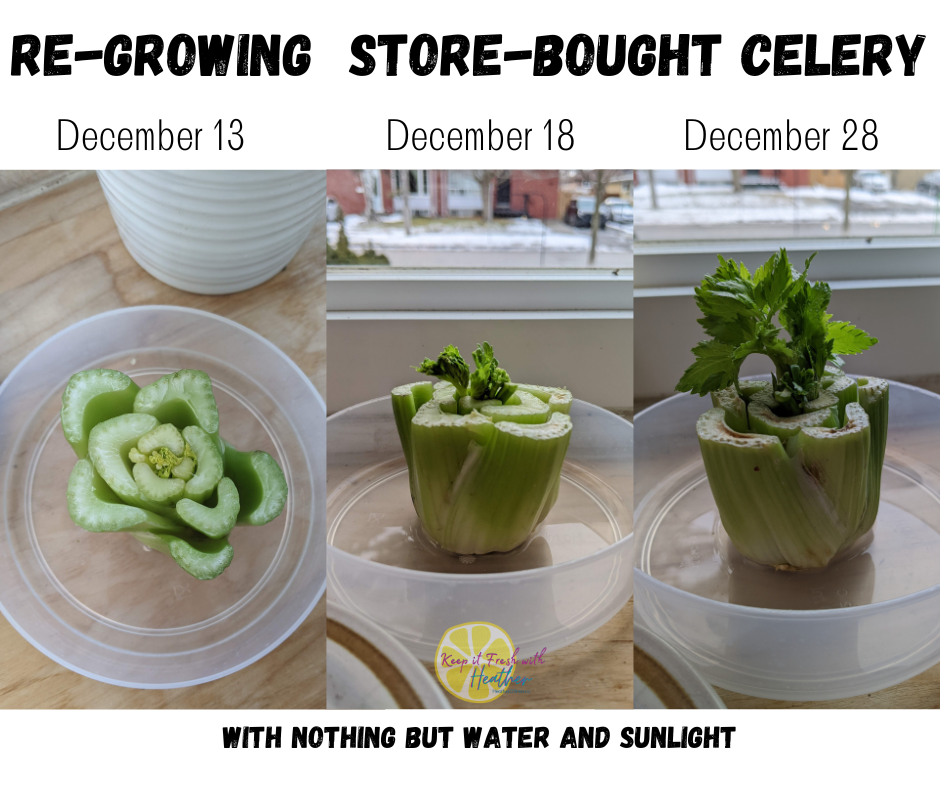
Some of the easiest things to grow indoors are the scraps from vegetables and herbs that you bought at the store. Things like green onions, celery, bok choy, lettuce, ginger, beets, carrots, and basil will regrow with a few simple steps, giving you fresh food that’s basically free.
Green onions, celery, bok choy, lettuce & herbs: regrow in water or potting soil.
Bulb onions, beets, carrots, and other root vegetables, put the tops in water to regrow and harvest the greens, and transplant into soil when roots have grown.
Herbs & Greens
Whether you re-grow fresh herbs from storebought cuttings, or grow from seed, fresh herbs don’t require much space, add a touch of green to your space, and lots of flavour to your food. When you consider that you can get a whole package of seeds for around the same cost as a package of fresh cut herbs from the store, it makes a lot of sense to grow your own at home just based on the savings by volume.
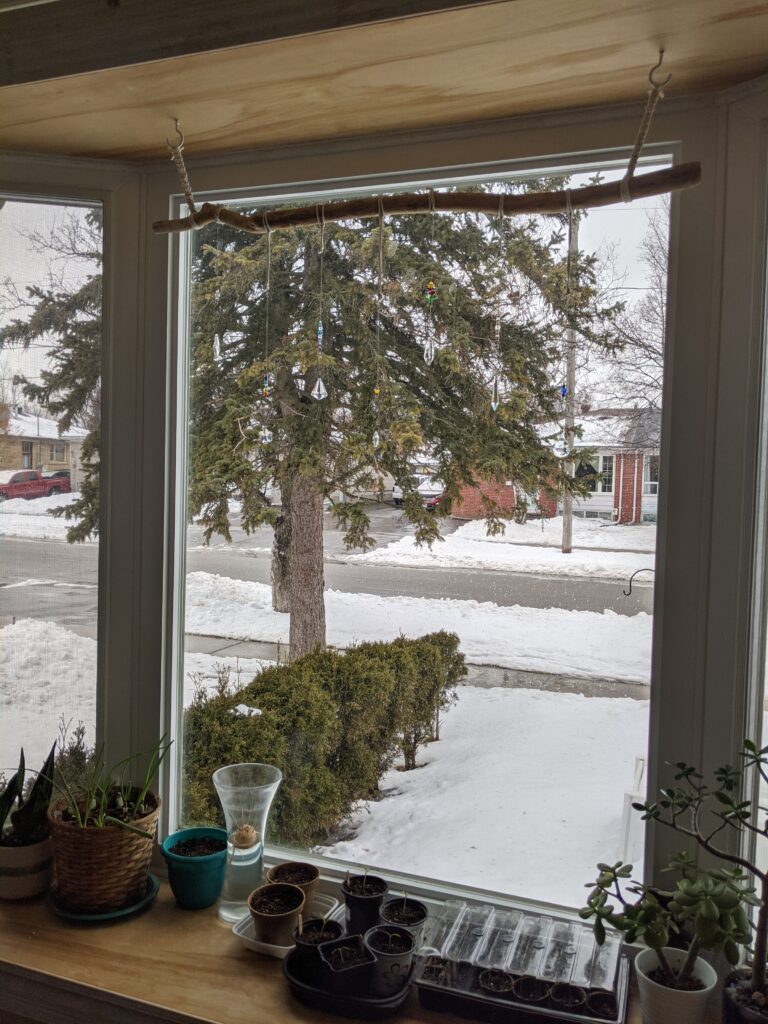
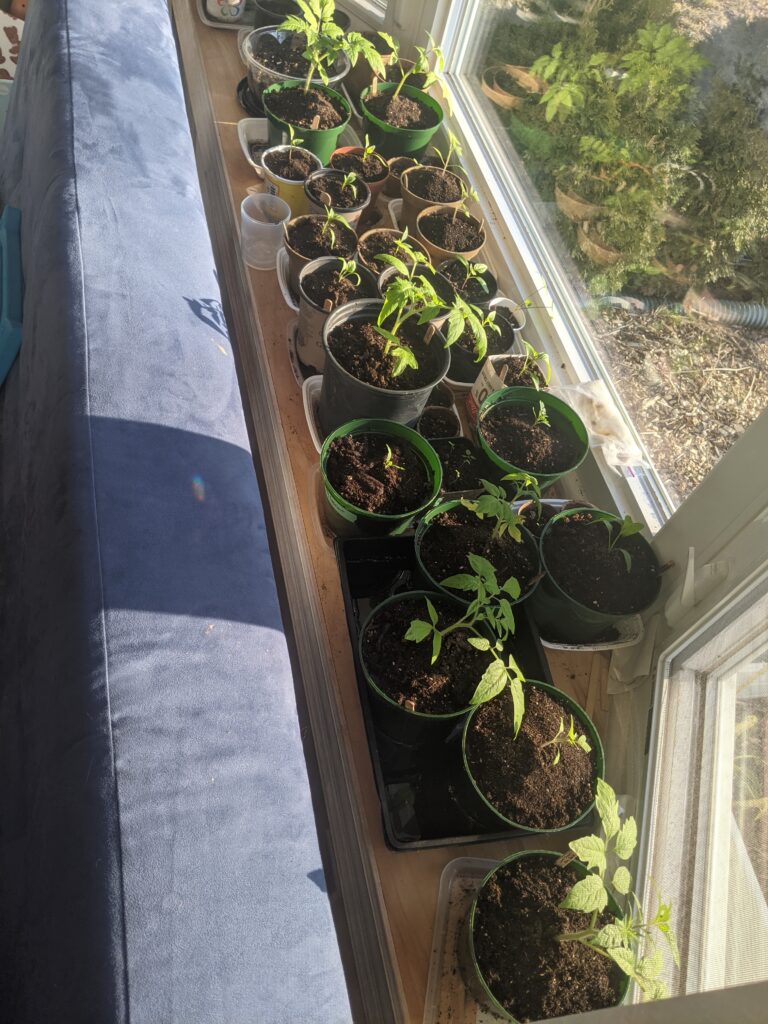
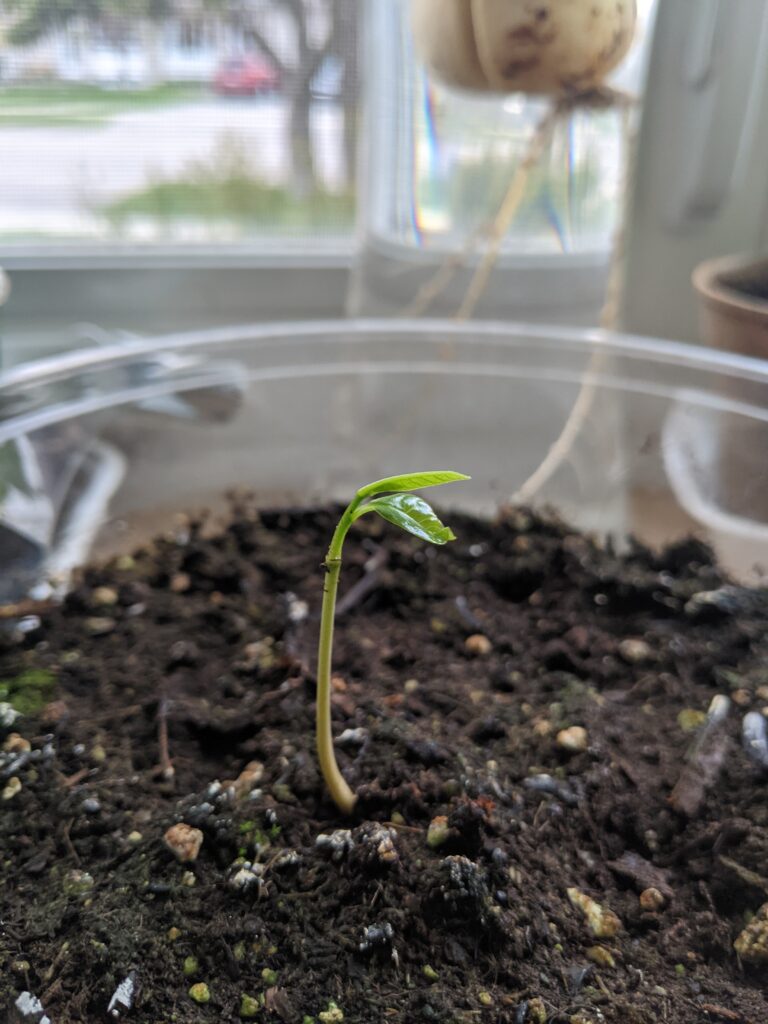
Take a cutting from a store bought plant or package and set it in water to see if it will root, then plant it, or purchase a package of seeds (way more cost effective, but longer wait for results) and grow them on a sunny windowsill. Try growing herbs like basil, oregano, cilantro, parsley, and thyme, and greens like spinach, radishes, and arugula from seeds indoors and you’ll have greens year-round.
Sprouts
In terms of value, sprouts are some of the most jam-packed nutrition you can grow using almost no space. You can literally grow them in mason jars on your counter using a sprouting lid. They also require minimal equipment and effort; just soak, rinse, drain, repeat! My favourite, and one of the most fool proof are mung beans; they’re crunchy and delicious and ready to eat in just a couple days.
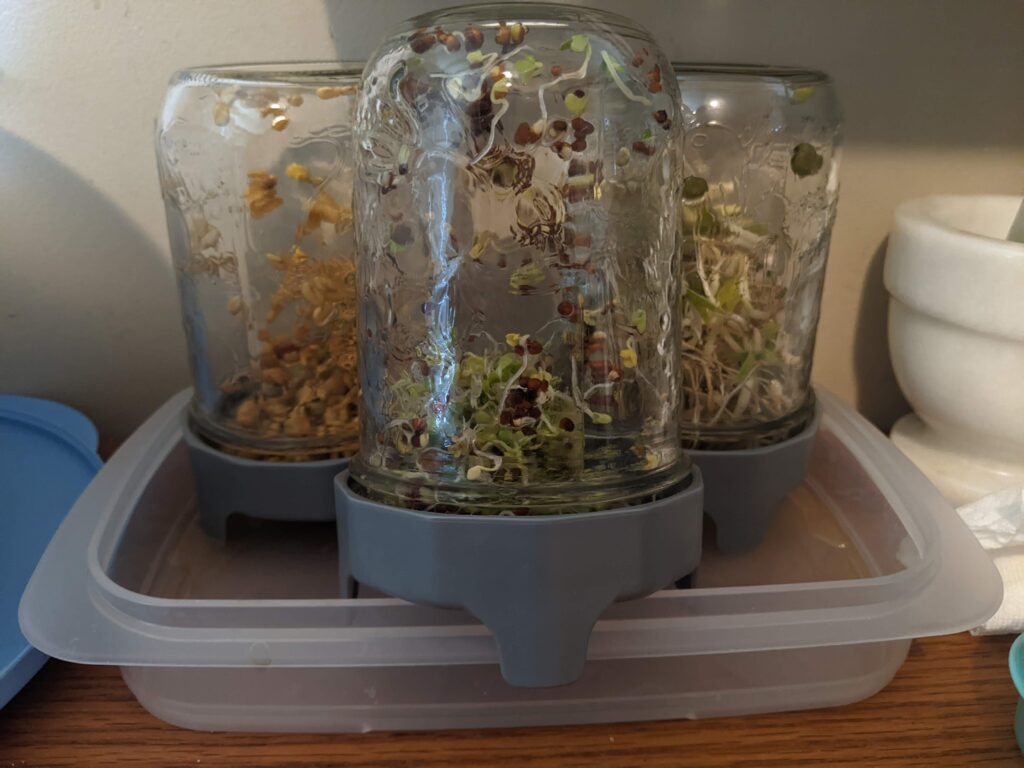
Start by rinsing and soaking about 2-3 tbsp of sprouting seeds: put the seeds in the jar and attach the sprouting lid. Fill the jar about halfway with water, swirl the seeds around and then pour out the water. Refill about halfway and soak for 4-12 hours (follow the directions on the package for timing), then drain and rinse, storing upsidedown or at an angle using a stand. Rinse the sprouts twice per day until they’re ready, then eat or store in the fridge.
Microgreens
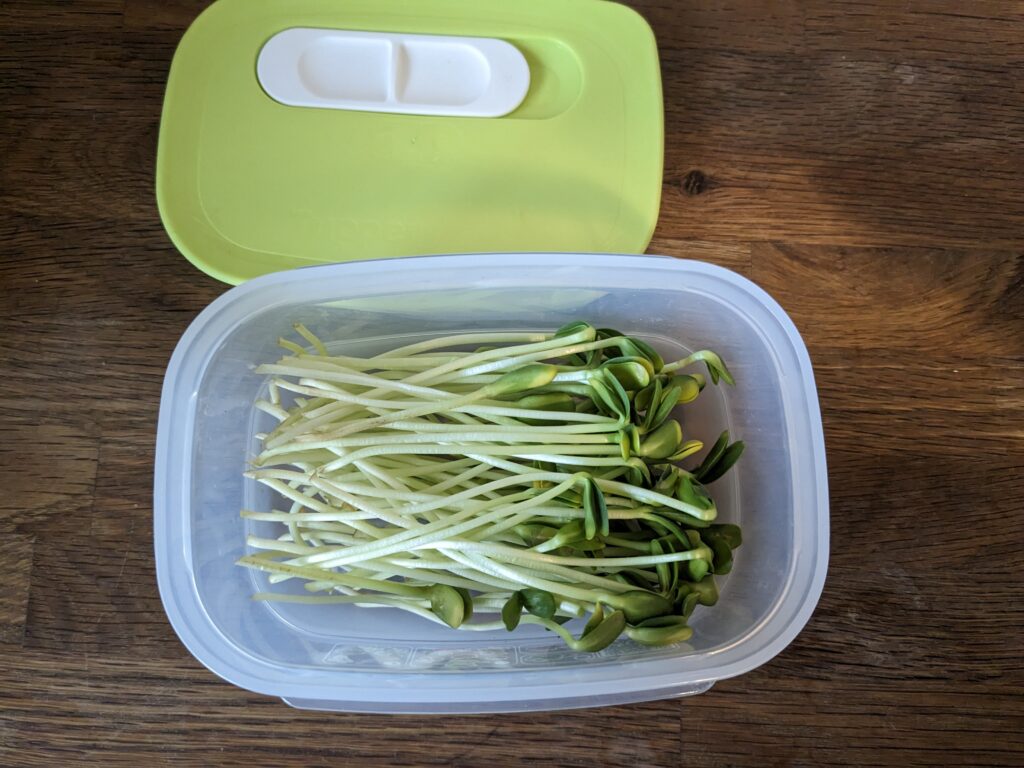
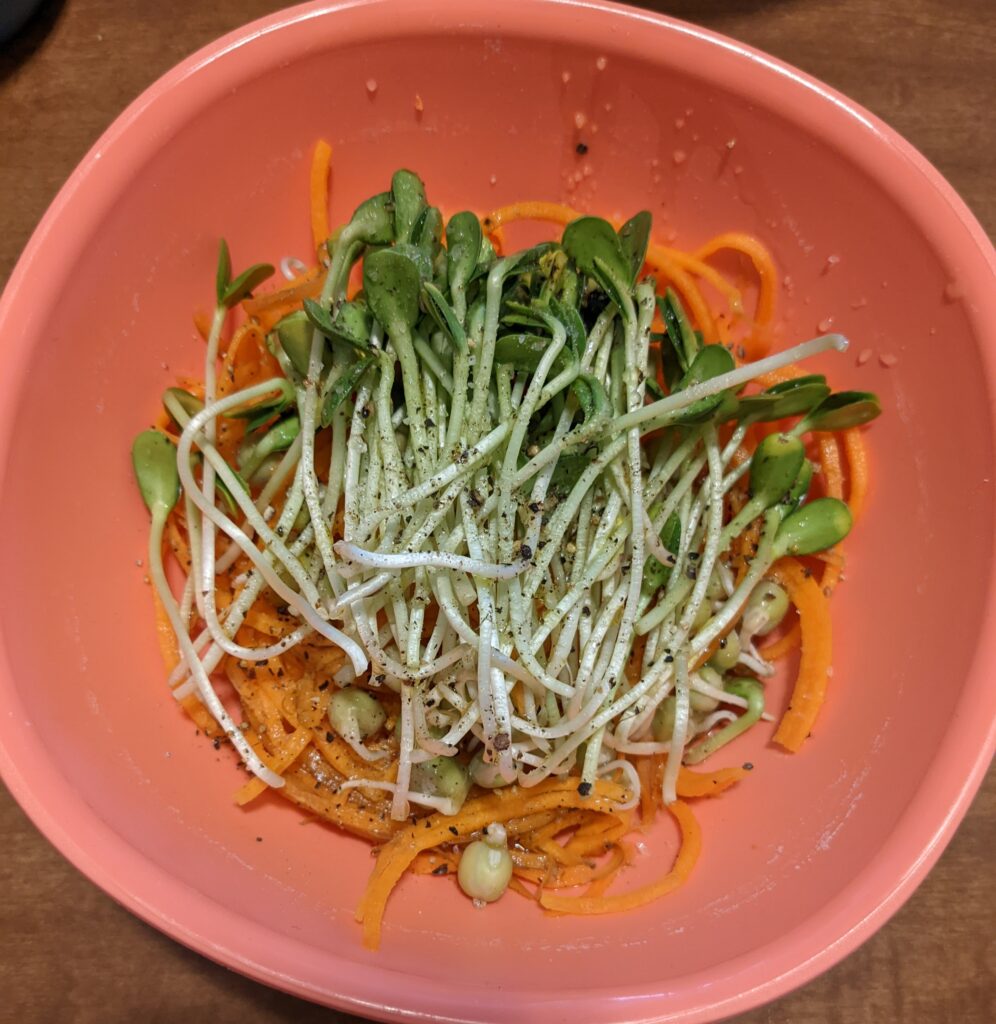
Microgreens are similar to sprouts, just taller. Ha. But seriously, follow basically the same process as for sprouts, but let them grow for longer (10-12 days vs. 2-3) and again, they are super nutrient dense and take up very little of your time and space. My favourite microgreens are sunflowers. Microgreens can be grown easily in these inexpensive sprouting trays.
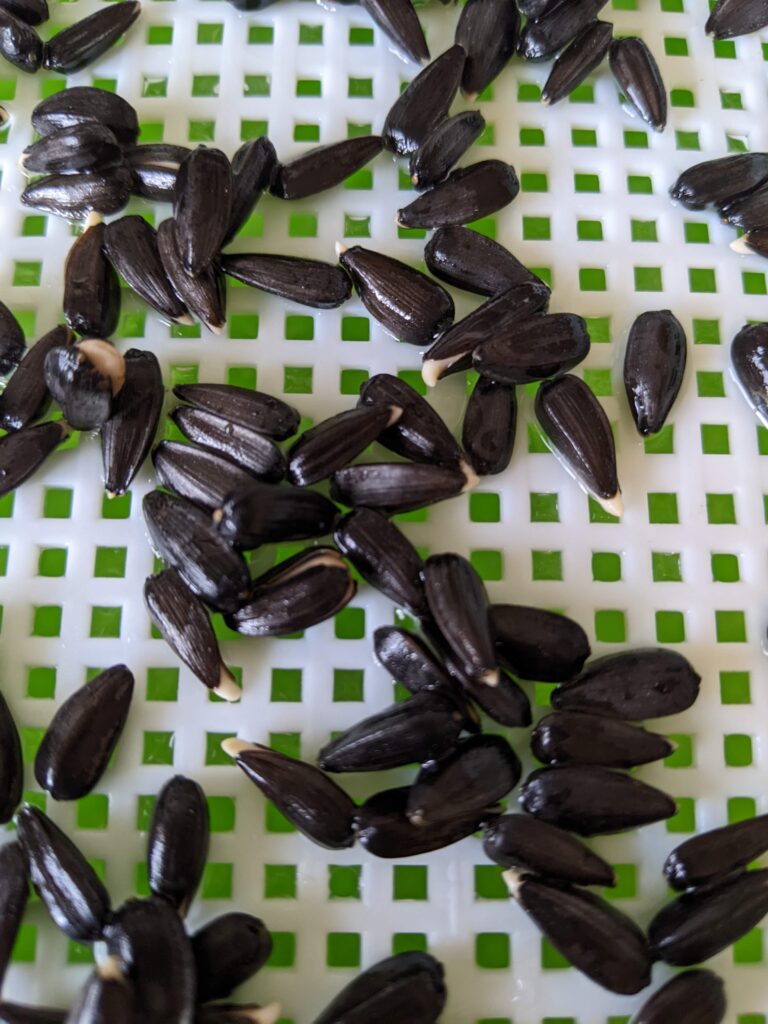
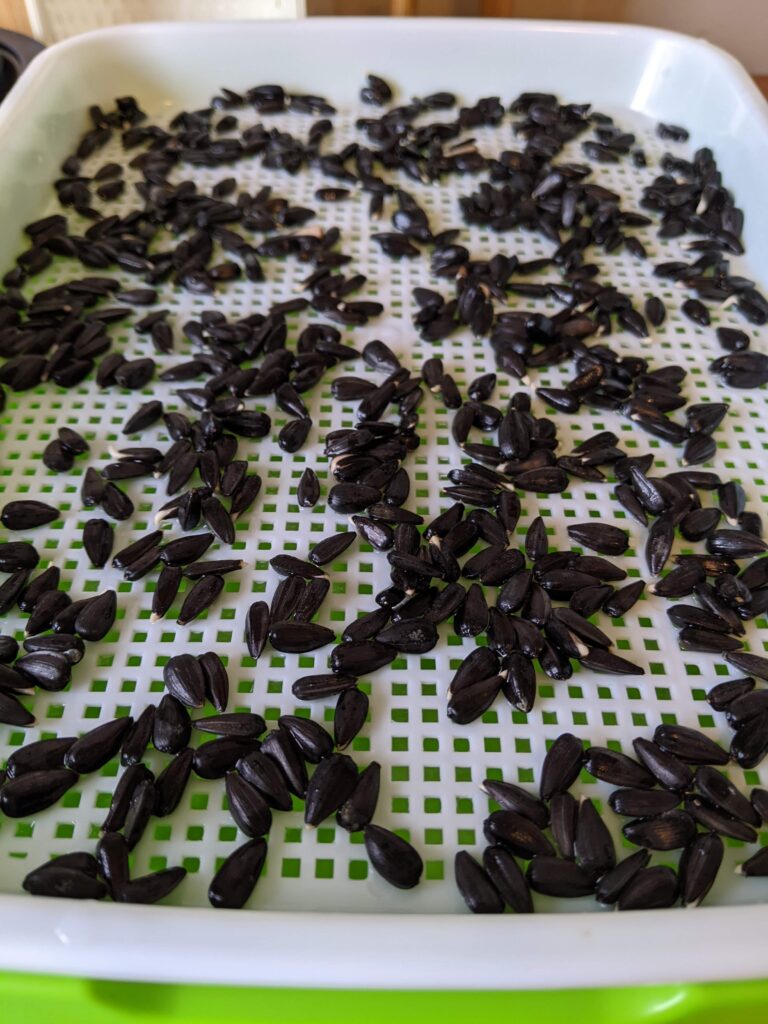
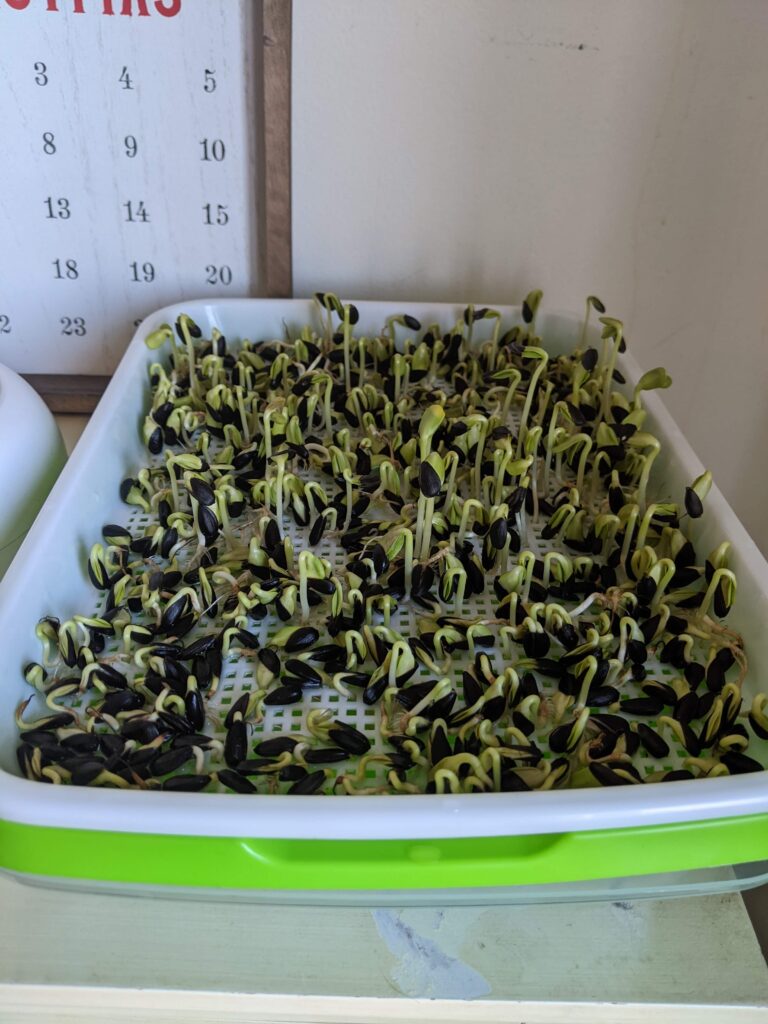
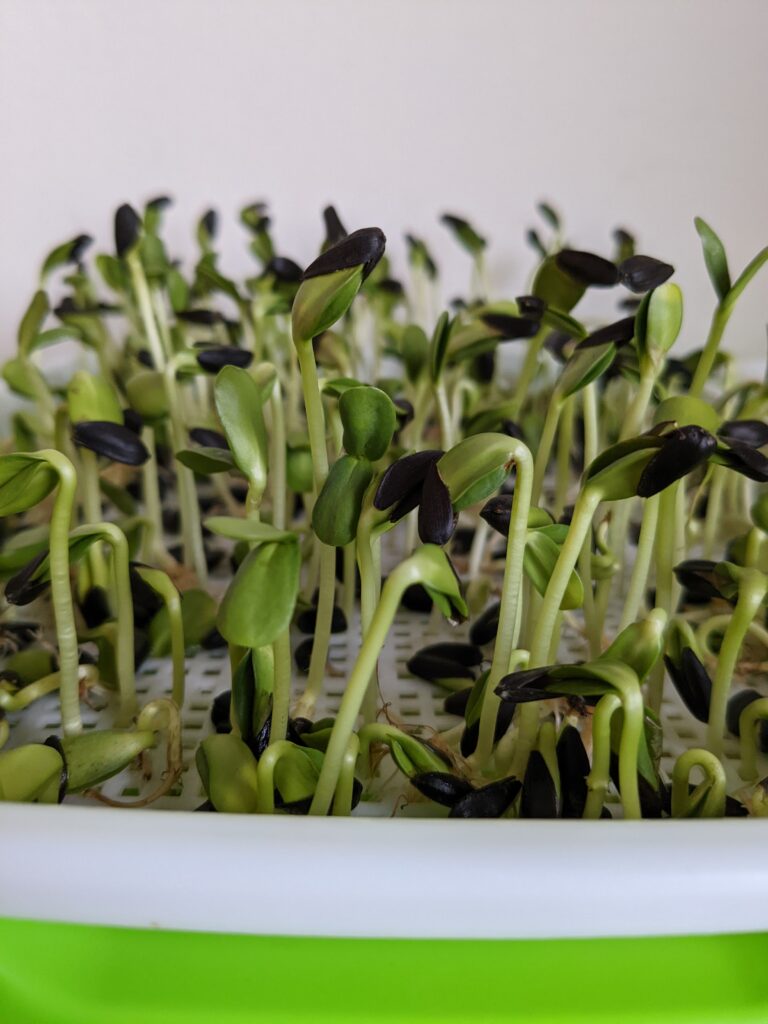
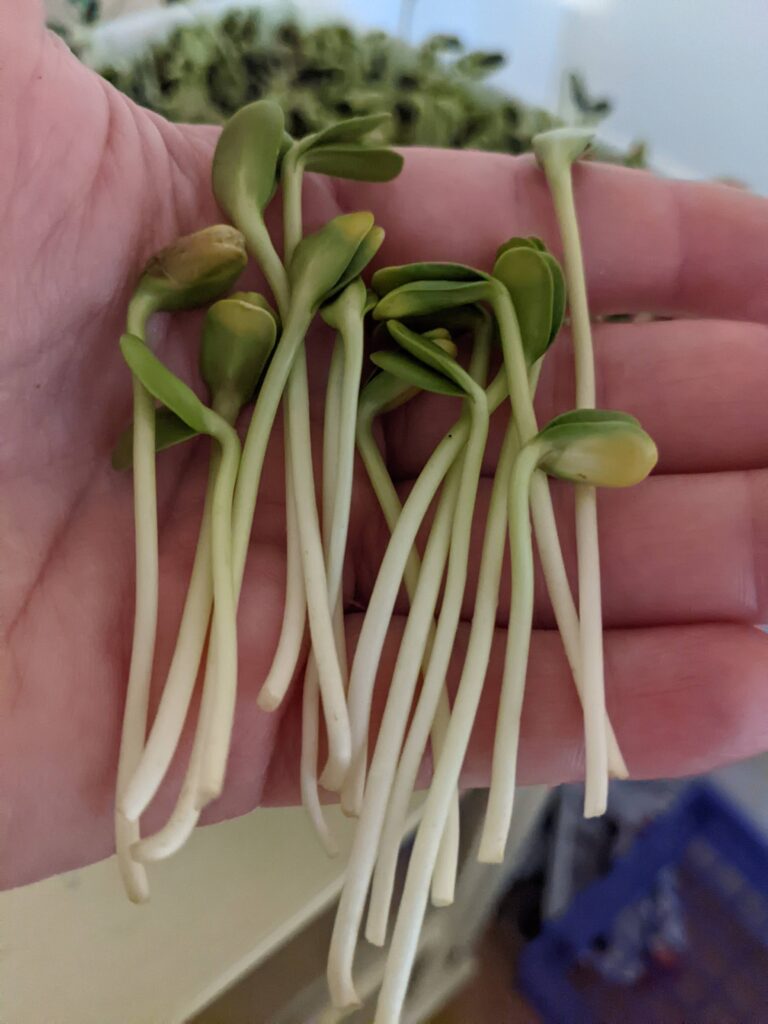
Just like sprouts, you’ll start by rinsing and soaking your seeds according to the package directions. I find it’s easiest to measure out and rinse my seeds on the draining tray, then pour them all into the base to soak. Once soaking is done, put the draining tray on top to keep the seeds in, and tip out the water. Then spread the seeds evenly over the draining tray and rinse twice a day. Microgreens take a bit longer, but you can get about 3 cups of greens for every 1/4 cup of seeds! Eat when ready, or store in the fridge.
