*This post may contain affiliate links and I may earn a small commission when you click on the links at no additional cost to you. As an Amazon Affiliate I earn from qualifying purchases. You can read my full affiliate disclosure here.
Water is life, my friend. As gardeners, we know those drops are like liquid gold. Instead of watching them disappear into the abyss of storm drains, let’s capture that goodness for our gardens! Setting up a rainwater collection system not only gives your garden a boost—it’s also a savvy way to conserve resources, cut down your water bill, and flex those self-sufficiency muscles. Whether you’re all about rain barrels or making your landscape Mother Nature’s sponge, there’s a method that’ll fit you like a glove.
Why Collect Rainwater?
Rainwater harvesting isn’t just for the homesteaders—it’s an ancient practice having a modern revival, and here’s why it’s gold:
- Cut the Cord on Municipal Water – Collect rain and you’ll be able to give your garden a drink even during the driest spells.
- Stop Soil Erosion in its Tracks – Keep your garden assets right where they belong, instead of watching them wash away.
- Boost Groundwater Reserves – Instead of losing water to storm drains, you can direct it back into the earth.
- Save Money – Less reliance on your hose means a lower water bill.
- Healthier Plants – Your plants will thrive on naturally soft, chemical-free rainwater.
Simple Rainwater Collection Methods
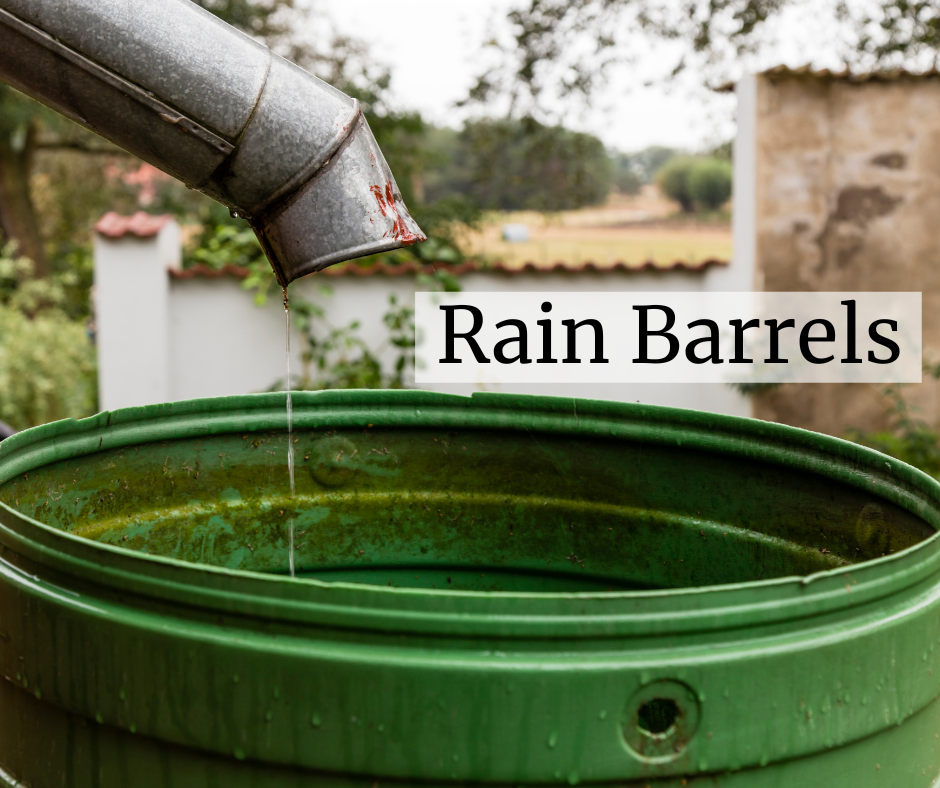
1. Rain Barrels: The Classic Choice
Want an easy-peasy way to collect rain? Rain barrels are your BFF.
How to Set Up a Rain Barrel:
- Snag a sturdy barrel (think 50–100 gallons) set it up under a downspout.
- Pop a screen on top to keep out unwanted guests (debris and mosquitoes, we’re looking at you).
- Add a spigot for easy access. No need to wrestle with it—gravity’s got your back.
- Elevate it on cinder blocks for maximum water pressure.
Use your gathered rain for nurturing your green babies or even sprucing up outdoor gear. Just steer clear of sipping it unless you’re a water purification pro.
2. Rain Chains & Diverters: Pretty and Practical
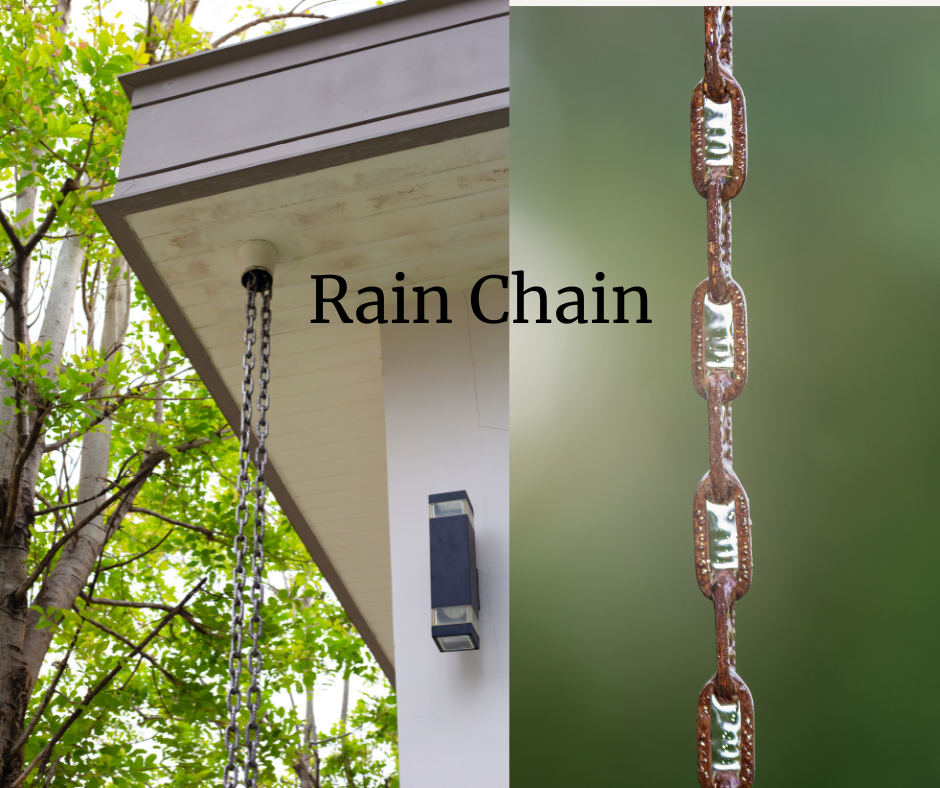
Rain chains swap out those boring downspouts for a cascading water show that guides rain into a basin or rain garden. Beauty meets function!
Downspout diverters, on the flip side, let you channel water into a rain barrel when you want, or let it flow freely when it’s pouring cats and dogs.
3. Swales: Nature’s Little Helpers
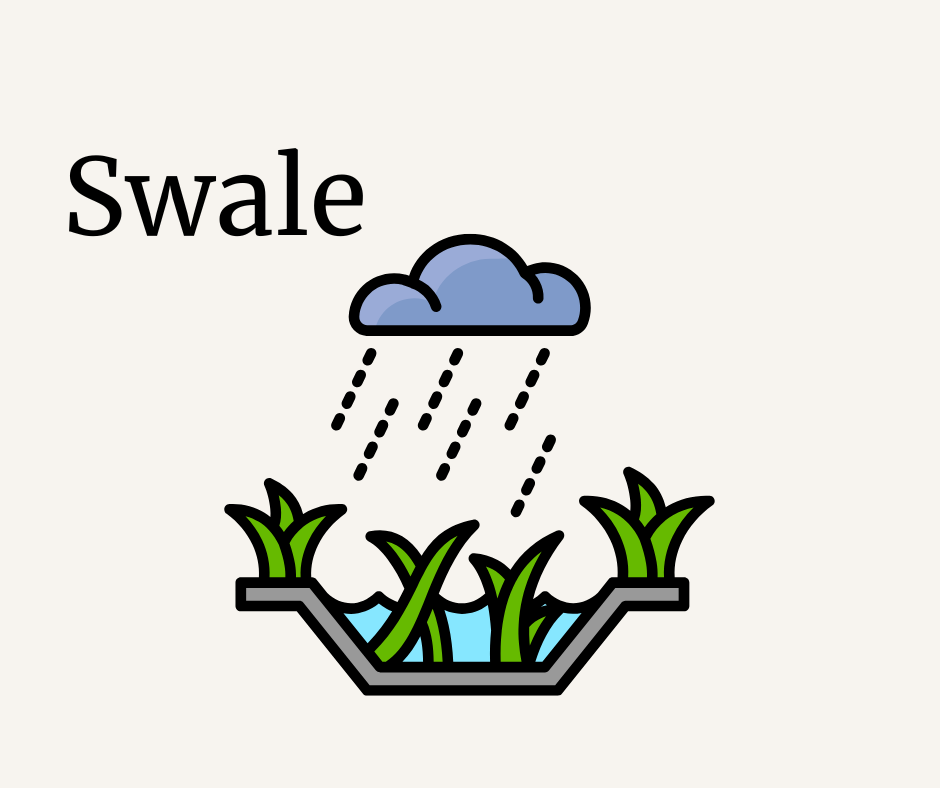
Swales are shallow trenches that slow down, spread out, and soak up rainwater, keeping it right where you want it—your landscape.
How to Create a Swale:
- Dig a shallow trench along the land’s contour—easy enough, right?
- Build up the soil downhill to form a berm.
- Fill with mulch, gravel, or water-loving plants.
Swales keep your soil hydrated and cut down on irrigation needs.
4. Rain Gardens: Functional Beauty
Rain gardens are like having Mother Nature’s sponge in your backyard. They’re beautiful, slightly sunken gardens that soak up excess water.
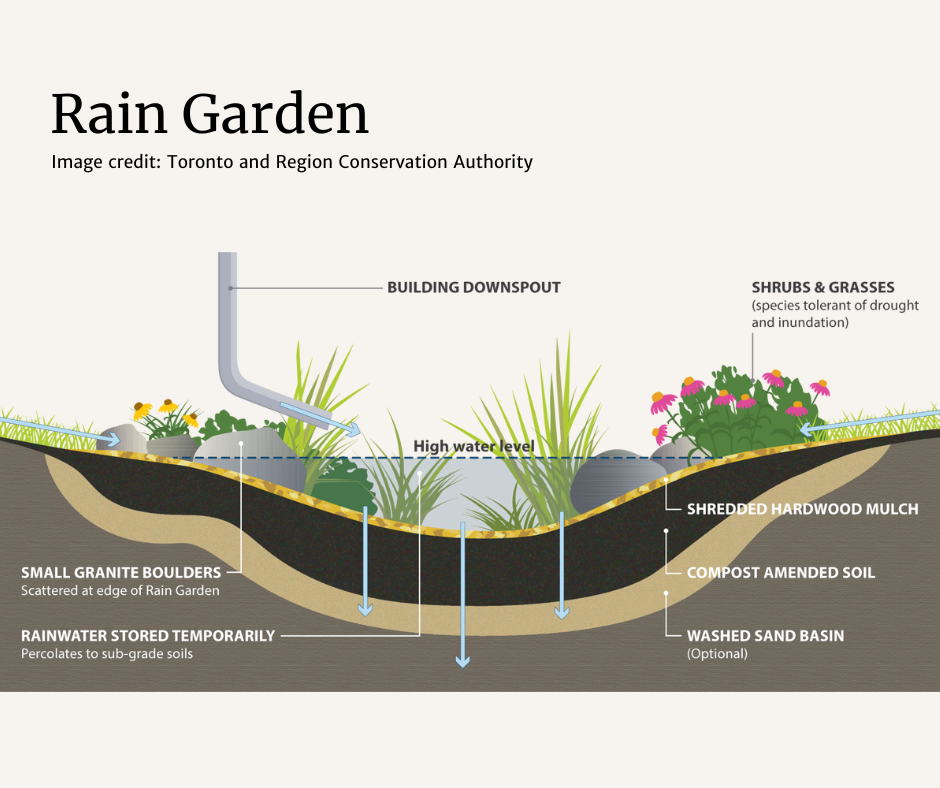
Steps to Build a Rain Garden:
- Pick a low spot where water naturally hangs out.
- Dig a basin (6–12 inches deep) and fill with compost, sand, and native plants.
- Use a berm to keep water contained.
Not only do rain gardens manage runoff, but they also invite pollinators and enhance soil health.
5. Permeable Pathways and Driveways
Swap out those hard surfaces for permeable options like gravel or porous pavers. Let rain seep into the earth instead of skimming away.
6. Mulching and Deep Planting
Even the simplest actions can make a splash:
- Mulch it up – A thick layer of mulch slows evaporation and boosts soil moisture.
- Go deep – Plant trees and shrubs in basins to catch water right where it’s needed.
- Cover crops – Improve soil structure and water retention.
Bringing It All Together
For a powerhouse of water conservation, mix and match these techniques. Let rain barrels quench your container plants, while swales and rain gardens soak up the rest. Mulch and permeable pathways? They’re your secret weapons for a lush, water-efficient garden.
Ready to dive in? Pick a method and run with it—your garden (and your water bill) will be doing a happy dance!
