*This post may contain affiliate links and I may earn a small commission when you click on the links at no additional cost to you. As an Amazon Affiliate I earn from qualifying purchases. You can read my full affiliate disclosure here.
Seed snails are a great, beginner-friendly way to start a garden even if you don’t have much space.They’re compact, and they’re quick and easy to put together.
Why seed snails rock:
- They take up much less space than typical seed starting trays.
- You can reuse and repurpose materials you already have to make them.
- You don’t need to pot-up the seedlings as they grow.
- They grow strong plants with great roots.
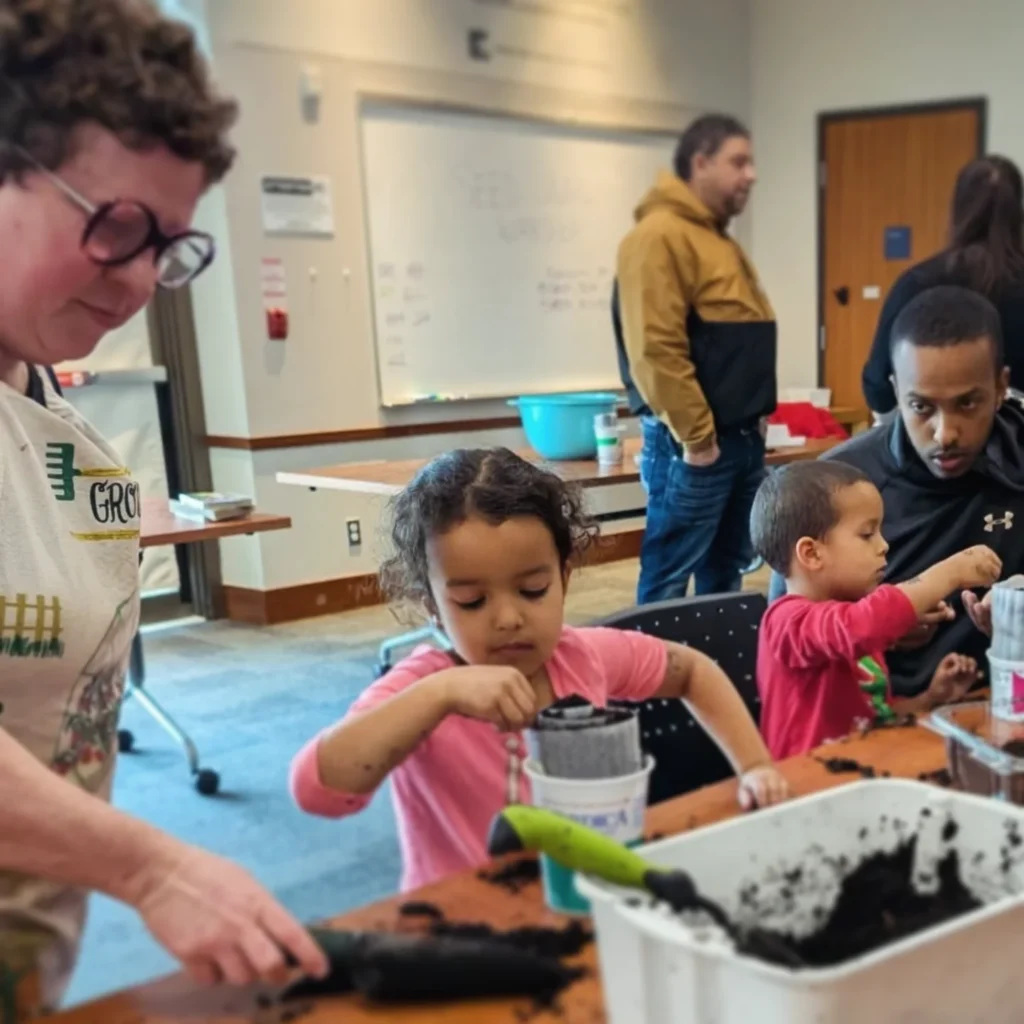
- They’re fun to make! (Kids love making them too)
How to Make a Seed Snail:
Step 1: Gather and prepare your materials:
- Soil
- Seeds
- Water (rain water is best)
- Material for the roll*
- Empty margarine or yogurt containers (one for each roll)
- Masking tape or painters tape and a permanent marker
* to make the rolls, I’ve used large rice bags, empty soil bags, bubble wrap, and other sturdy materials that would have otherwise been thrown out. Use what you have on hand and cut it into strips that are roughly 6” tall and 24” long (or to your preferred specs)
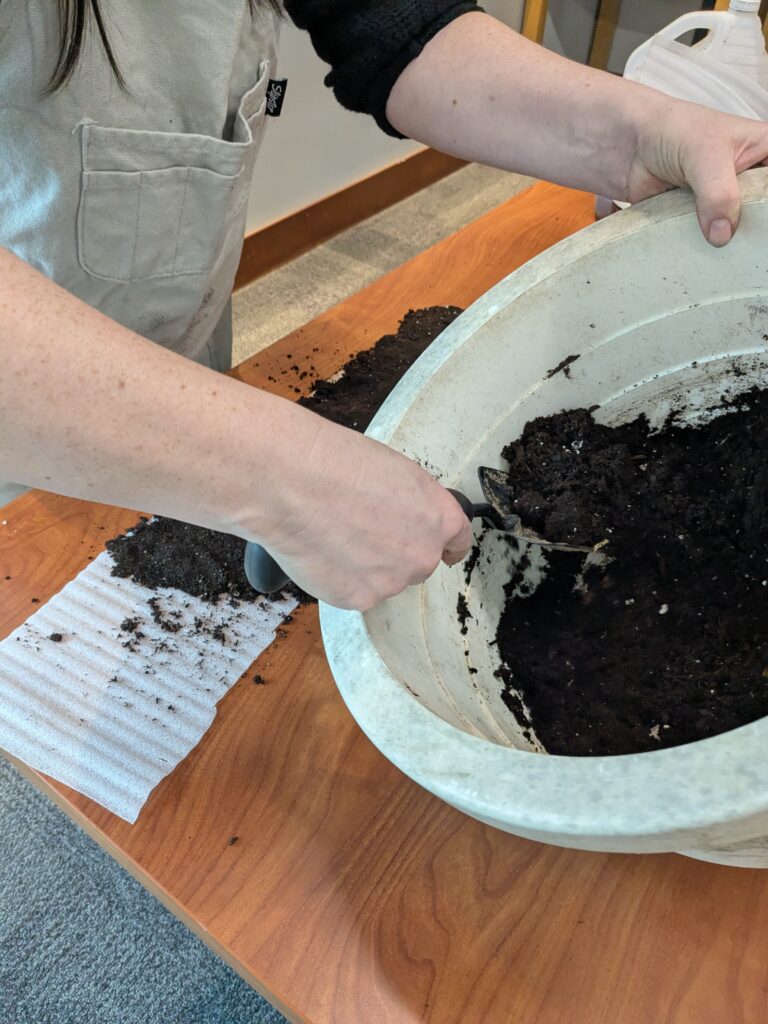
Step 2: Prep Your Soil
In a large bin, bucket, or bowl (again, use whatever you have on hand) mix soil with water until it’s wet enough to stay together when pressed (but not so wet that it’s dripping! Think— making sand castles). Try picking up a handful and squeezing it. Does it make a ball or fall apart? If it falls apart, add more water and be sure to mix well.
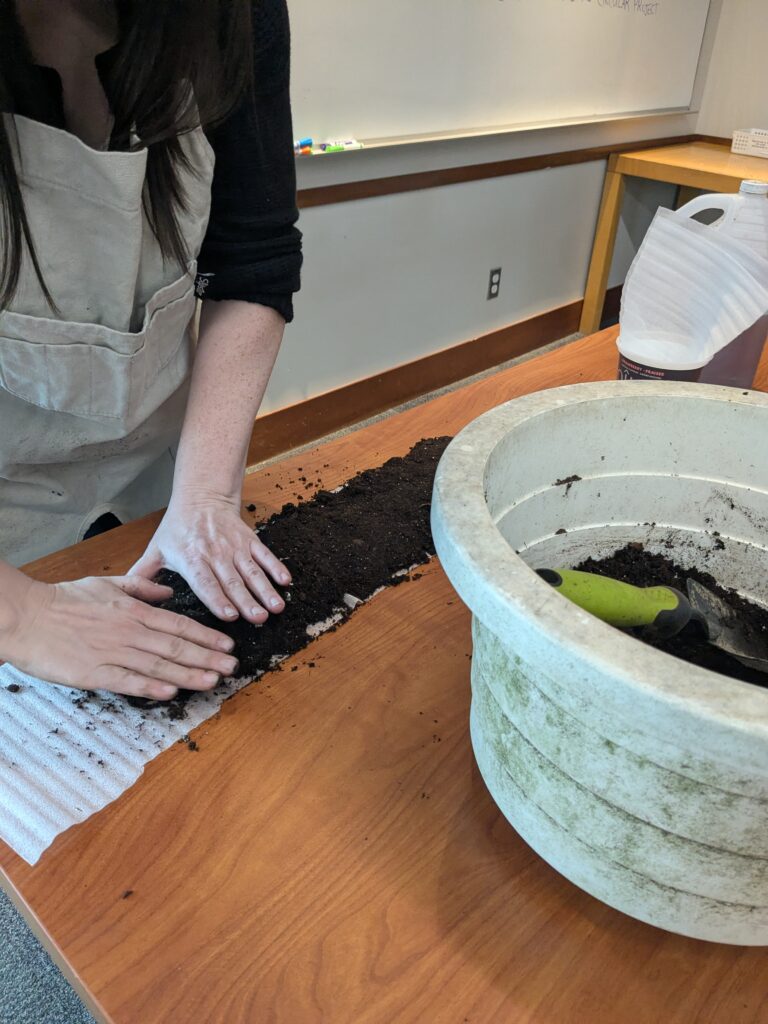
Step 3: Make the Roll
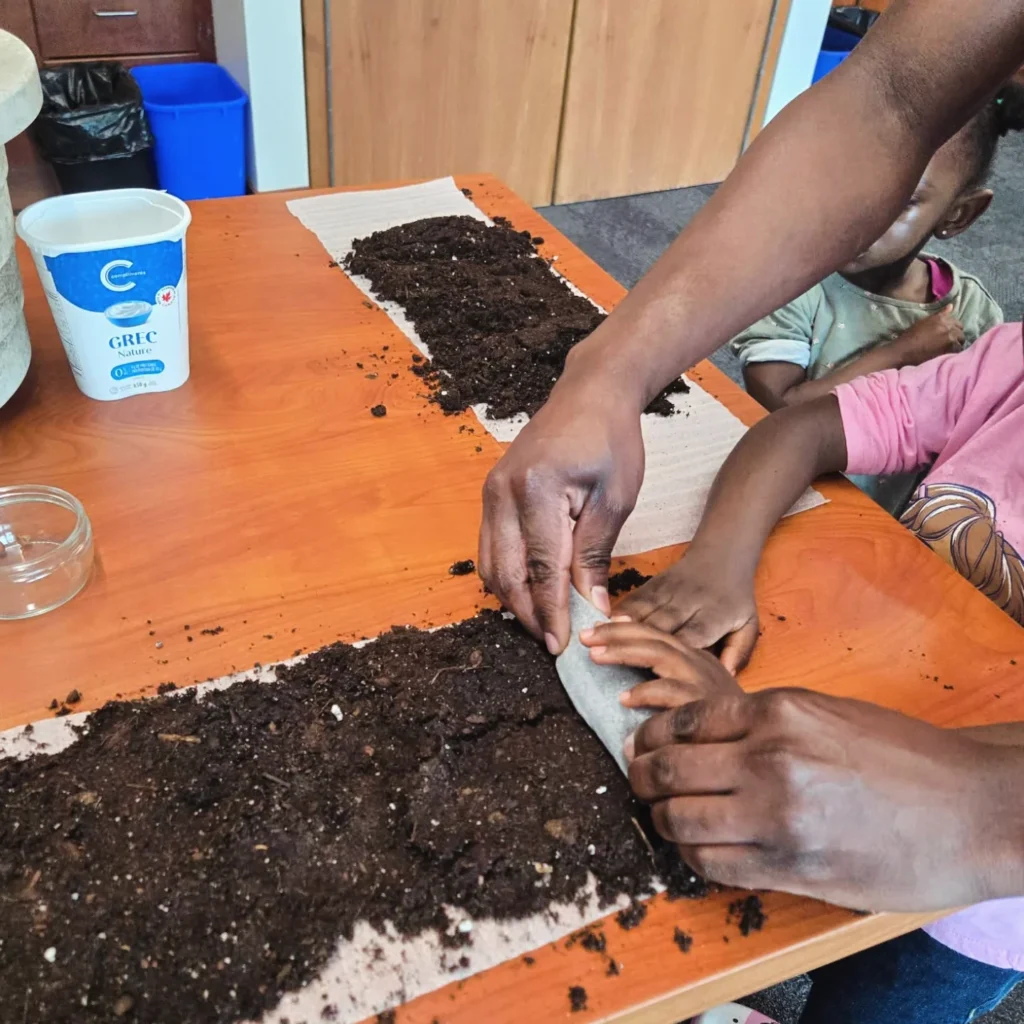
Once the soil can be compacted, put a 1/2 inch layer on your roll material, leaving about 2-3 inches at the end empty. Press the soil down as you cover the roll, filling from top to bottom.
Starting at the filled end, begin rolling your material and soil towards the end with space left empty. At the end, carefully pick up the roll and place it standing up in your container.
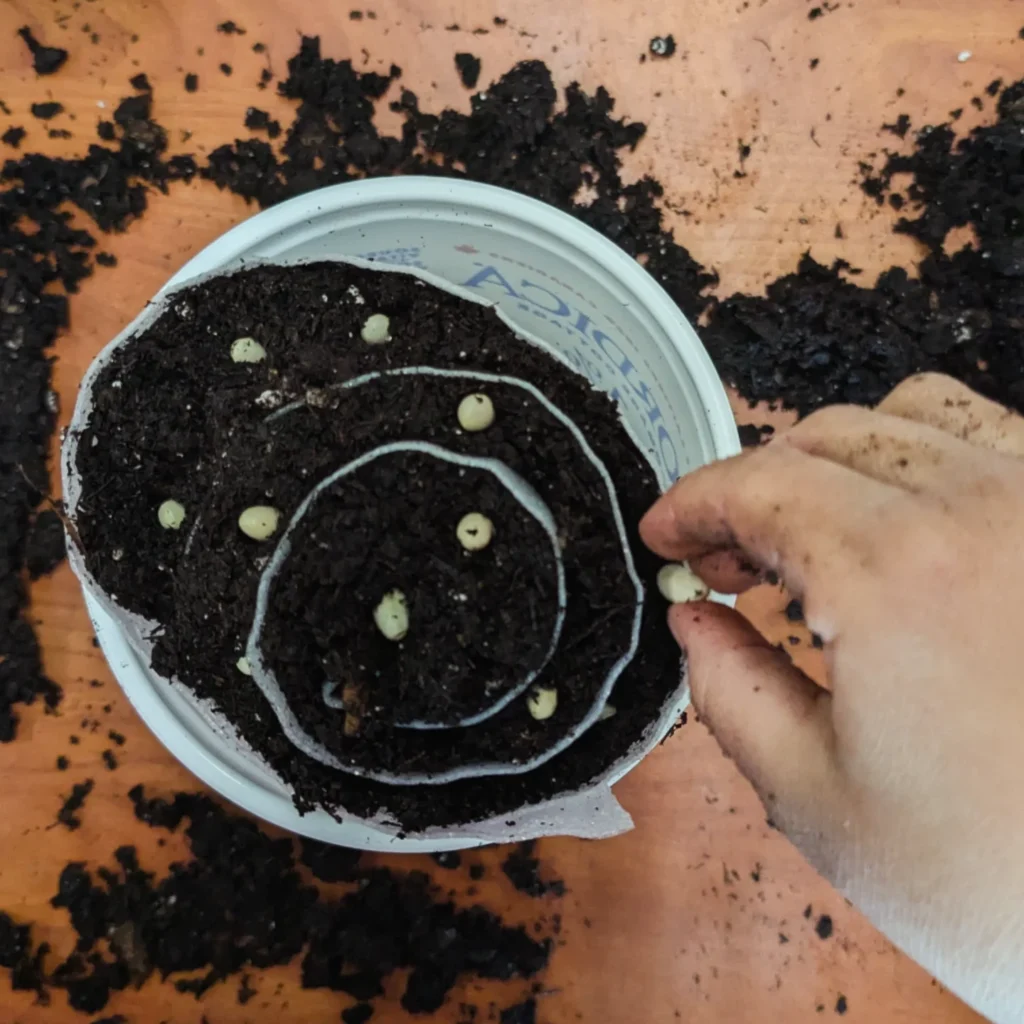
Step 4: Plant & Label
Choose your seeds and write it down on a piece of masking or painters tape. Use the tape to secure your snail so it stays in the roll even if removed from the container later. Place your seeds in the soil, leaving space between them for the plants to grow. Press each seed down under the soil and/or cover with a thin layer of soil.
Tip: Use the size of the seed to gauge how deep to plant it. Tiny seed = just below the surface (ex. Basil, carrots, radishes). Large seed = 1/2” to 1” below the surface (ex. Beans, peas, squash).
Seed Snails FAQ
Can I plant different seeds in one snail?
Sure! It’s your snail, and it’s your garden! Here’s what I’d recommend though: consider how these seeds will grow together. Are they companions plants? Great! That could work well. Are they a selection of plants you want to grow but only want to make one snail? Ok…but will they be easy to separate later when you want to plant them out? Make sure they are spaced well. Do they have different needs for sunlight or water? Maybe do separate snails.
What’s a companion plant?
A companion plant is a plant that benefits another plant in some way. For example, basil is a great companion plant for tomatoes, enhancing the flavour of the tomatoes when they grow together side by side. A traditional indigenous companion planting is referred to as the “three sisters” corn, beans, and squash. The corn grows tall, providing a trellis for the beans, the beans add nitrogen to the soil, feeding the other two, and the squash suppresses weeds with its large leaves.
How do I take care of my seed snail?
Once you’ve made all your seed snails, you can put them together in a tray under a grow light or in a sunny (ideally south-facing) window. Water them by pouring water into the tray rather than from above. Once the weather is warm enough for your seeds, start taking them outside for a few hours, not in direct sunlight. Add a little more time every few days, until they are ready to plant in the ground or in your outdoor containers.
What if my seedlings get too big before I can plant them outside?
This is one of the benefits of the seed snail! If the plants are getting big and starting to look cramped you can open the snail, adjust the spacing between plants if needed, add more soil if needed, and roll them back up again without causing much stress to the plants!