*This post may contain affiliate links and I may earn a small commission when you click on the links at no additional cost to you. As an Amazon Affiliate I earn from qualifying purchases. You can read my full affiliate disclosure here.
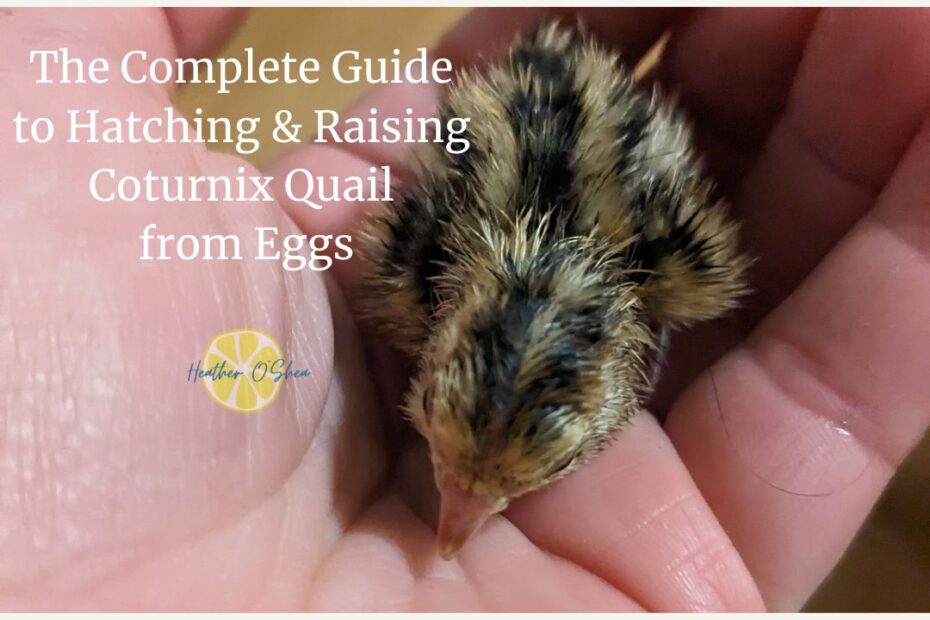
Why Hatch Your Own Quail?
Hatching Coturnix quail from eggs is a rewarding experience that allows you to raise healthy, well-socialized birds from day one. It’s also more cost-effective than buying live birds, and you get to ensure the best possible start for your flock.
However, successful incubation and brooding require proper setup and attention to detail. Many beginners make simple mistakes that can lead to poor hatch rates or chick losses. This guide will walk you through every step, from selecting eggs to raising strong, healthy quail.
Step 1: Choosing & Preparing Your Eggs
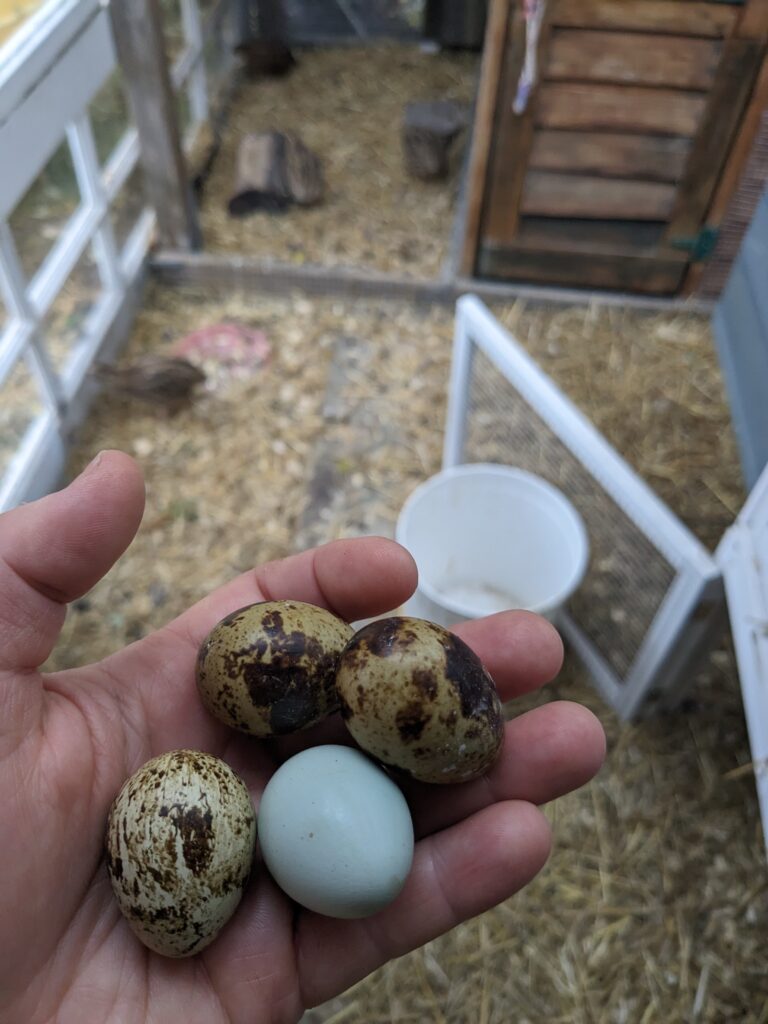
Source Quality Fertile Eggs – Get eggs from a trusted breeder or your own quail flock. Talk to local farmers to find a good source, or check kijiji for home-based breeders like me.
Check for Cracks & Defects – Only incubate clean, intact eggs; discard any with cracks.
Store Properly Before Incubation – Keep eggs pointy-side down in a cool (10-15°C), humid environment and set them within 7 days for best hatch rates.
Step 2: Setting Up Your Incubator
- Temperature: Keep a steady 37.5°C (99.5°F)
- Humidity: Maintain 45-50% during incubation, increasing to 65-70% for hatching.
- Turn Eggs Regularly: Turn eggs at least 3 times daily (or use an automatic turner) until day 14.
- Ventilation is Key: Ensure the incubator has adequate airflow to support embryo development.
Step 3: Incubation Timeline & Lockdown
Days 1-14: Maintain temp & humidity, turn eggs regularly.
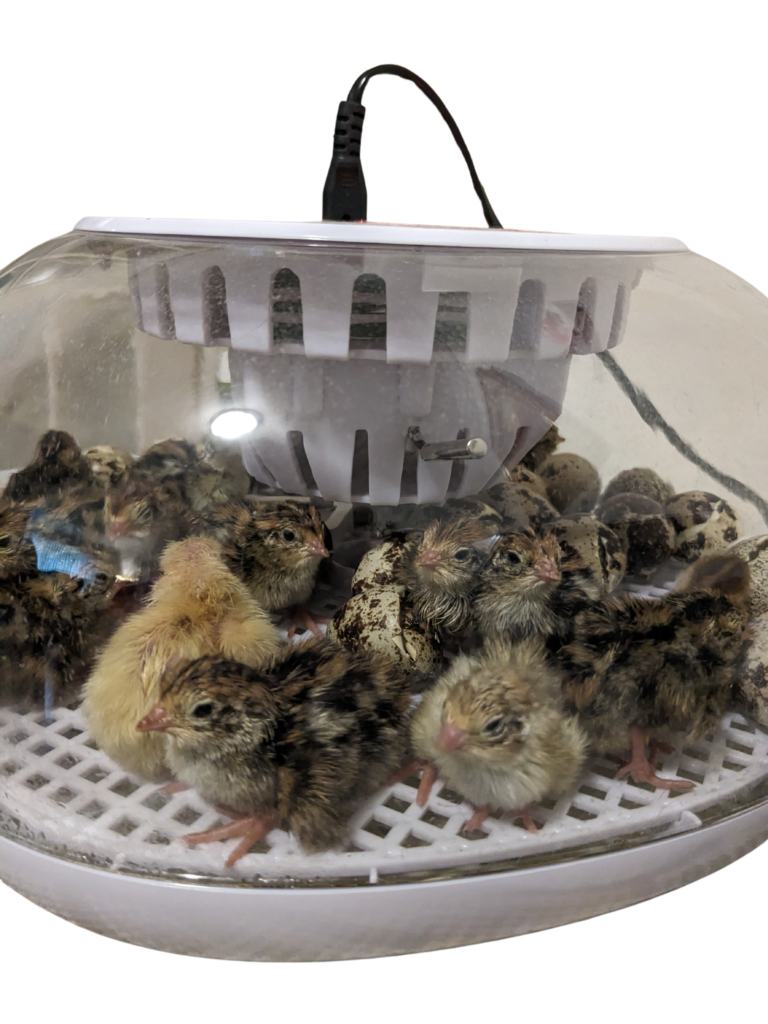
Day 15: Lockdown begins! Stop turning eggs, increase humidity, and do not open the incubator.
Day 16-18: Chicks start pipping and hatching! Do not open the incubator if you see eggs that have pipped but not hatched. A sudden drop in humidity can dry out the egg membrane, making it nearly impossible for the chick to hatch. Be patient! Chicks can survive for up to 48 hours without food and water after hatching, so it’s safe to leave them in the incubator until most have hatched.
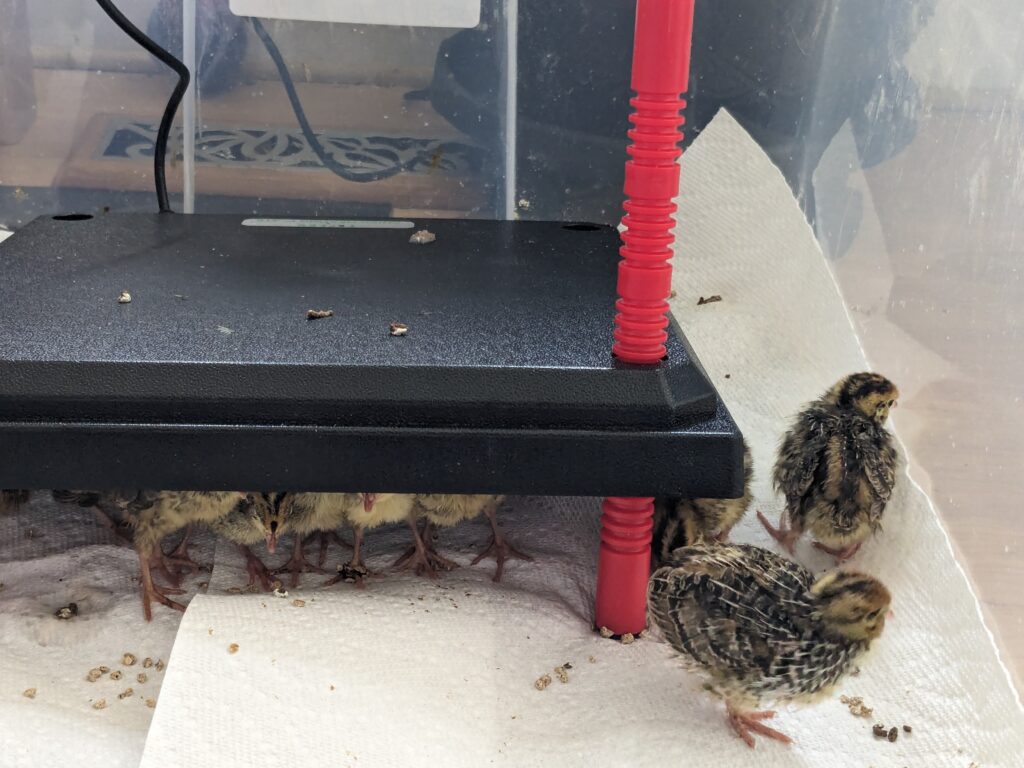
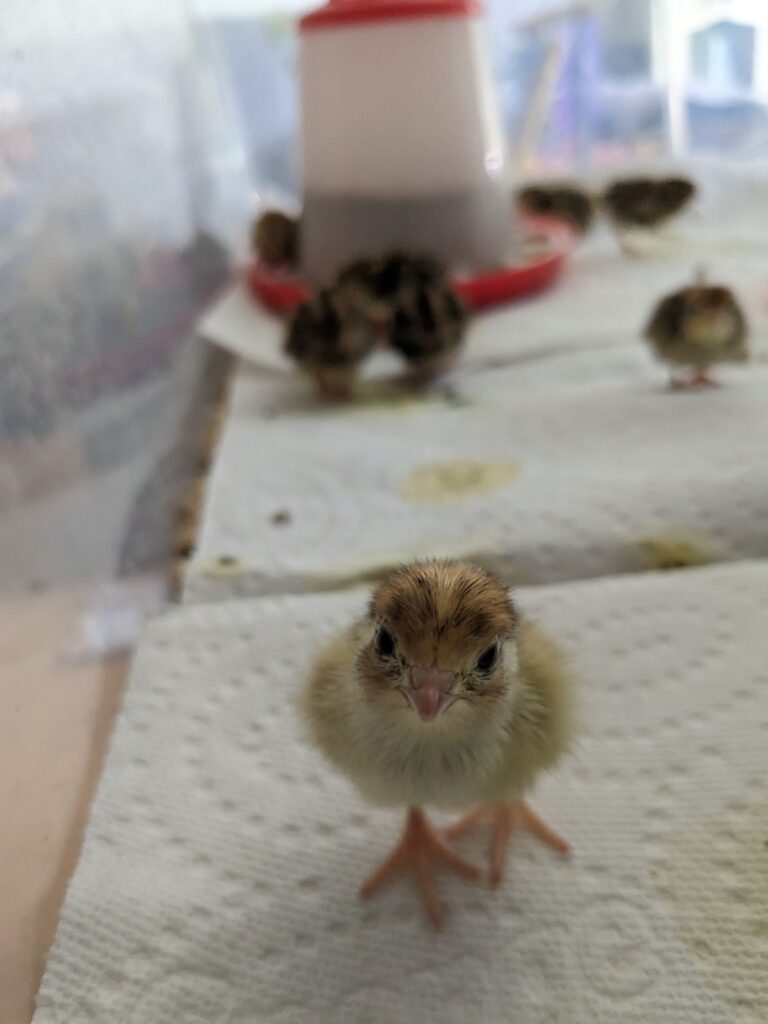
Step 4: Setting Up Your Brooder
- Temperature: Start at 35°C (95°F), reducing by 2-3°C per week.
- Bedding: Use paper towels for the first few days, then switch to pine shavings.
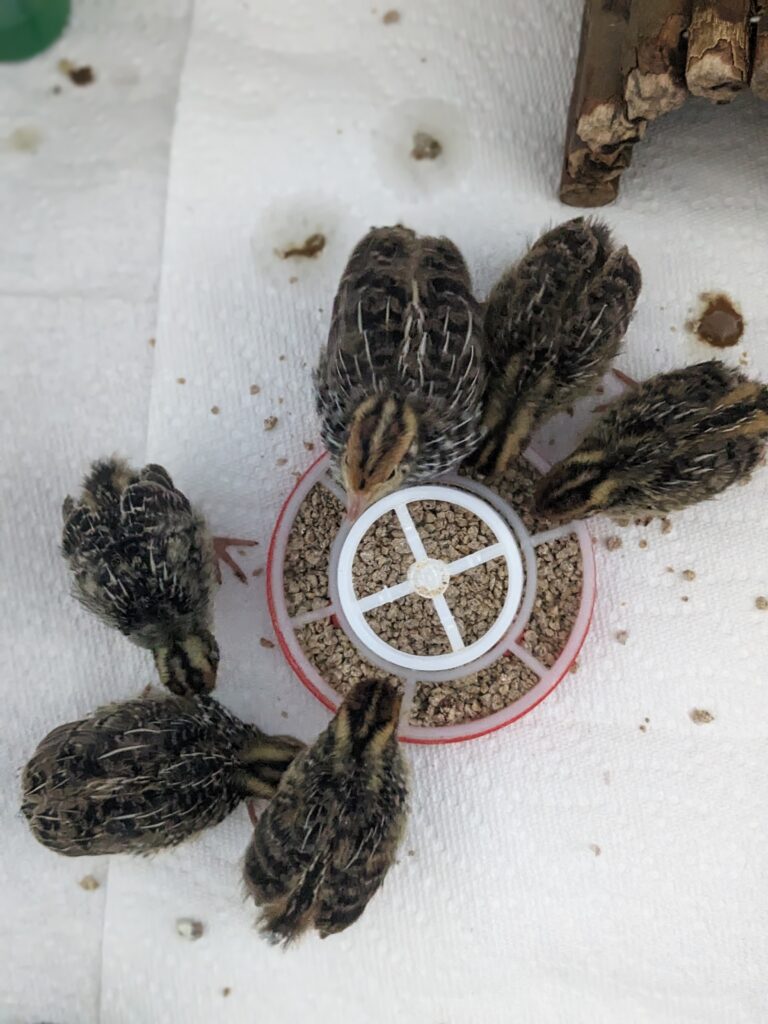
- Food & Water: Provide game bird starter crumble (28-30% protein). If you can’t find quail-specific feeders and waterers, I recommend using these food and water containers that are safe for chicks without needing marbles.
- Heat Source: Instead of traditional heat lamps, I highly recommend using a heat plate, which is safer and mimics a mother bird’s warmth.
- Space Requirements: 1 square foot per 5-6 chicks.
- DIY Brooder Option: I’ve made a brooder using a large, clear storage bin with holes drilled into the cover for ventilation. This can be a cost-effective and simple alternative to purchasing a pre-made brooder setup.
Recommended Equipment
If you’re looking for the best setup for incubating and brooding your quail chicks, here are some of my favorite tools:
Incubator I Use – Reliable and easy to use for high hatch rates.
Mini Hygrometer/Thermometer – Accurately monitor humidity and temperature inside the incubator.
Heat Plate for Chicks – A safer alternative to heat lamps.
Food & Water Containers – Properly sized for quail chicks to prevent drowning and waste.
Step 5: Raising Healthy Quail Chicks
- Monitor for Pasty Butt: Check for dried droppings blocking their vent; clean with warm water if needed.
- Gradually Reduce Heat: Watch chick behavior—huddling means they’re cold, panting means they’re too hot, spreading out means they’re comfortable.
- Transition to Adult Housing: At 3-4 weeks, move them to a predator-proof, well-ventilated space.
Final Thoughts
Hatching your own Coturnix quail can be a fun and fulfilling experience, but proper preparation is key! By following these steps, you’ll set yourself up for success and raise a healthy, thriving flock.
Got questions? Drop them in the comments below! Happy hatching! 