*This post may contain affiliate links and I may earn a small commission when you click on the links at no additional cost to you. As an Amazon Affiliate I earn from qualifying purchases. You can read my full affiliate disclosure here.
Ok, so technically this isn’t scrappy “cooking”, it’s actually scrappy fermenting, but it’s still firmly in the category of making something delicious from something you probably would have thrown away: pineapple rinds.
If you’ve never fermented anything before this ferment is beginner friendly and super tasty.
Tip: You almost never need to pay full price for a pineapple since they regularly go on sale for about $2 each (as I write this they are on sale for $1.87 at No Frills. Always shop the flyers, friends!), so next time they go on sale go ahead and buy a couple.

Give the pineapple a quick rinse/wash. Twist off the leaves –just grab and twist, then slice off the top & bottom, and then the rest of the peel/rind. Save everything but the leaves. You can cut out the core –I use an apple corer and add that to the ferment (you can technically eat it, but it is on the tough side).
Tip: Rinse your pineapple slices under water before eating them. Apparently it removes some of the acidity, reducing that “it tastes like burning” sensation some people experience.
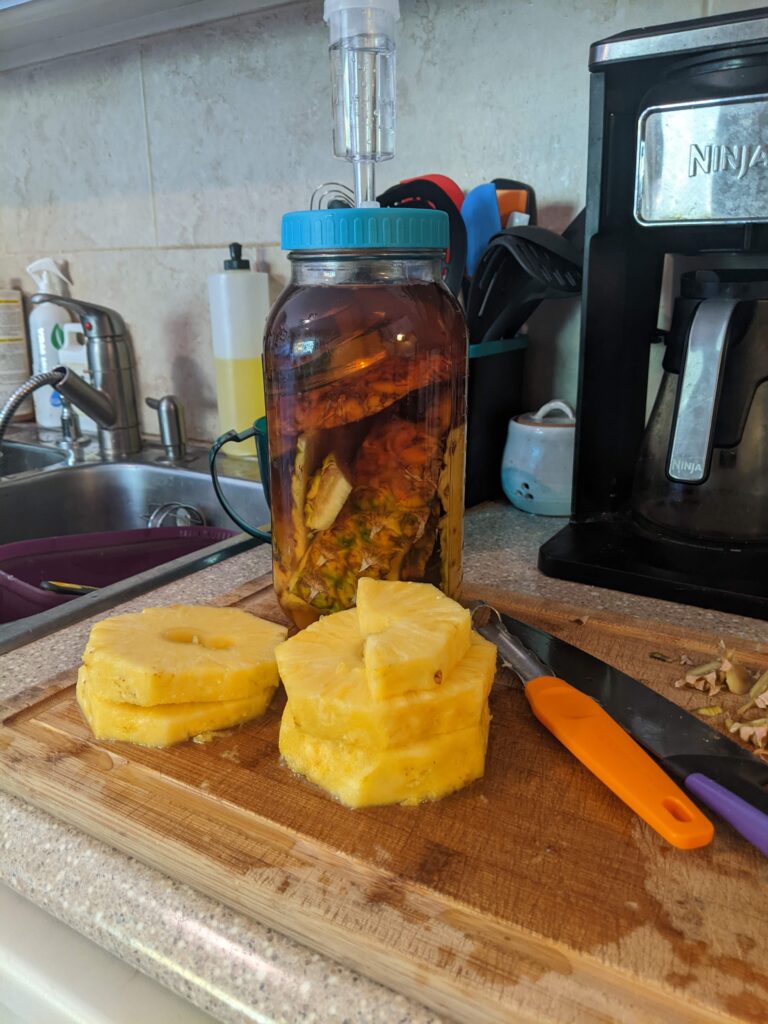
You’re going to need a few things to make the tepache: some kind of vessel for fermenting — I use a 2L mason jar, something to weigh down the contents so they stay under the liquid — I use glass weights, and something to cover everything — I use mason jar fermentation lids with airlocks.
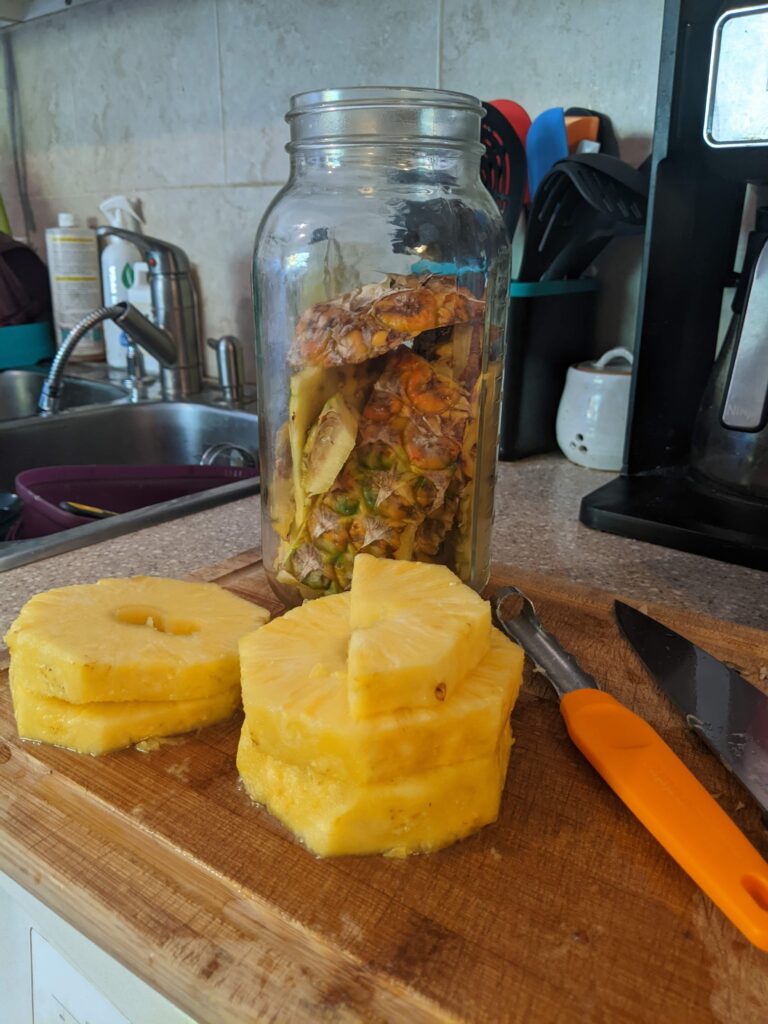
Put one whole cinnamon stick, a few whole cloves (3 or 4) if you have some, and all of the pineapple rind and core pieces. I like to put the smallest things at the bottom and then fit everything else in over top, ending with the round top or bottom piece to help hold everything under the liquid.
Dissolve one cup of brown sugar in 4 cups of hot water. Once dissolved, add another 4 cups of cool water. Make sure the liquid is cool enough (test with a clean finger– it can be warm, but if it’s hot wait for it to cool some more) and pour it into the jar. Place your weight on top of the solids to hold them under and secure the lid with the airlock. Leave it out at room temperature for 2-3 days –no longer.
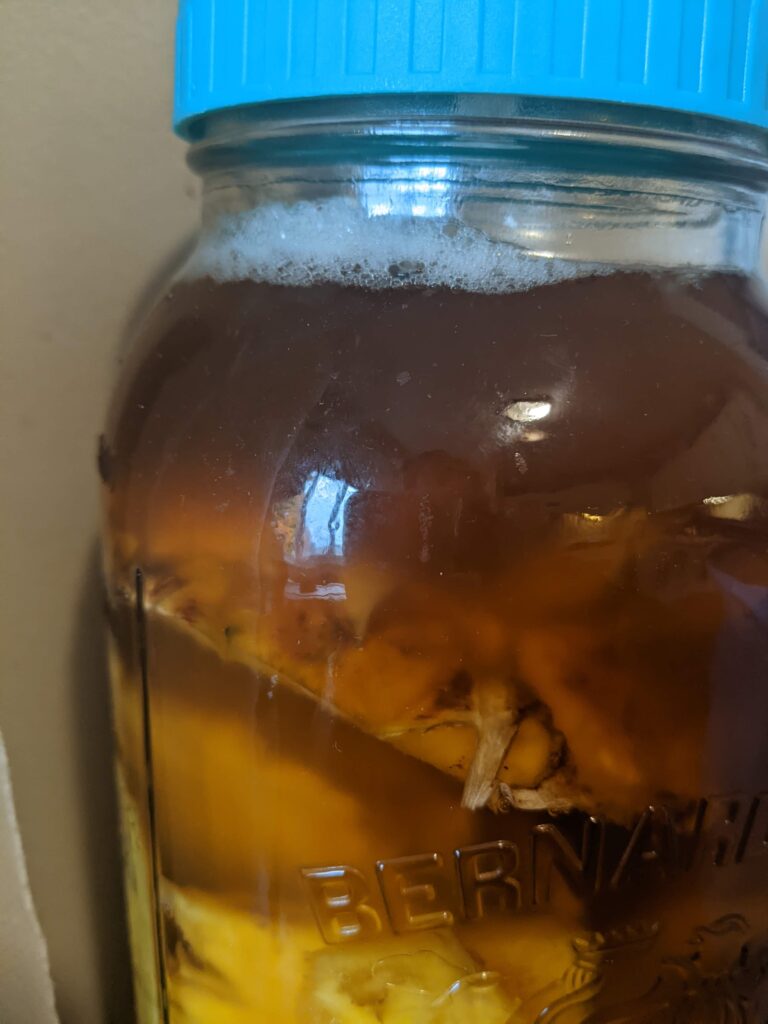
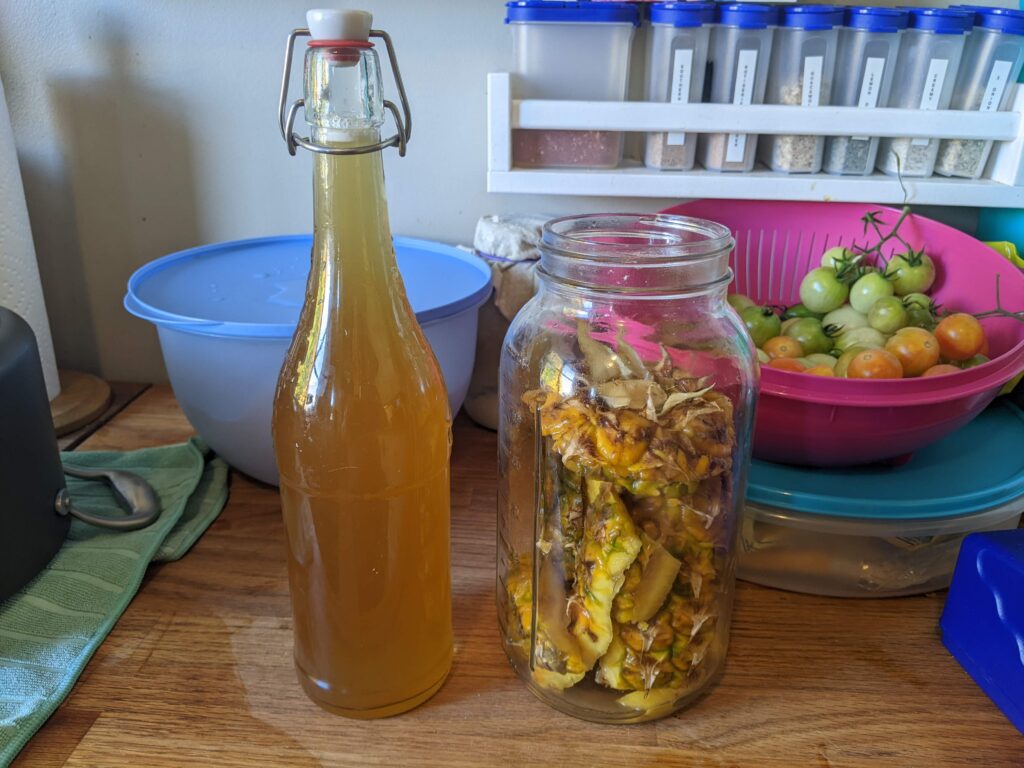
After a day or two you should start to see little bubbles forming inside the jar and the airlock may start to bubble intermittently. This means it’s fermenting! After 2-3 days it’s ready to drink but I prefer to do a second ferment to carbonate it. I strain the liquid through a fine mesh seive, put the liquid into a swing-top bottle, and put it straight into the fridge. I always reuse a bottle that came with a carbonated drink inside so that I know it can handle the pressure –not all swing top bottles are created equal.
Tip: I’ve found excellent bottles for second ferments at Winners! They’re the ones with the fancy sparkling lemonades. If you can’t find any you can reuse, grab these ones instead.
Open the top of the bottle after a few days until it makes that “psshht” sound you’d expect from a carbonated drink. But how? Since we only fermented it for a few days, there’s still sugar in the liquid and so there’s still food for the microbes. In the mason jar with the airlock, the bubbles created by those microbes can escape, but in a swing top bottle they can’t –that’s natural carbonation.
Continue to open the top once every few days to keep the pressure under control. Unlike a carbonated bottle of pop, a naturally carbonated drink like this will continue to ferment and create more and more carbonation over time so it can build up a lot of pressure left unchecked (which can result in a huge mess when you open it –like shaking a bottle of pop and then opening it — or even an exploding bottle). If you’re not comfortable with the idea remember you can drink it after the first part and not carbonate it, but as long as you’re using the right kind of swing top and checking the pressure every few days it should be fine. I usually drink mine within a week anyway because it’s so tasty.
Want to explore more ferments? Check out the Fermentation posts around here, and then definitely grab the book that got me hooked on fermenting: