*This post may contain affiliate links and I may earn a small commission when you click on the links at no additional cost to you. As an Amazon Affiliate I earn from qualifying purchases. You can read my full affiliate disclosure here.
There was a time when folks knew how to make something from nothing. How to make use of everything. How to eat well even when times were tough. We can all benefit from that wisdom and be savvy, scrappy cooks, avoiding unecessary costs when the ingredients we need are the very things we might have thrown away!
Let’s start with stock. Soup. or the more trendy term “bone broth”– It’s all the same thing and you certainly don’t need to spend money on it (and definitely not the $10+ they want for the “bone broth” advertised as a health panacea) because you probably already have everything you need to make it for free (or close to it!)
Start with scraps
Save vegetable scraps over time. Just throw them in a freezer safe container or bag.
- onion ends and skins
- carrot peels, tops, and ends
- tomato cores
- celery leaves and ends
- garlic skin and ends
- parsely stems
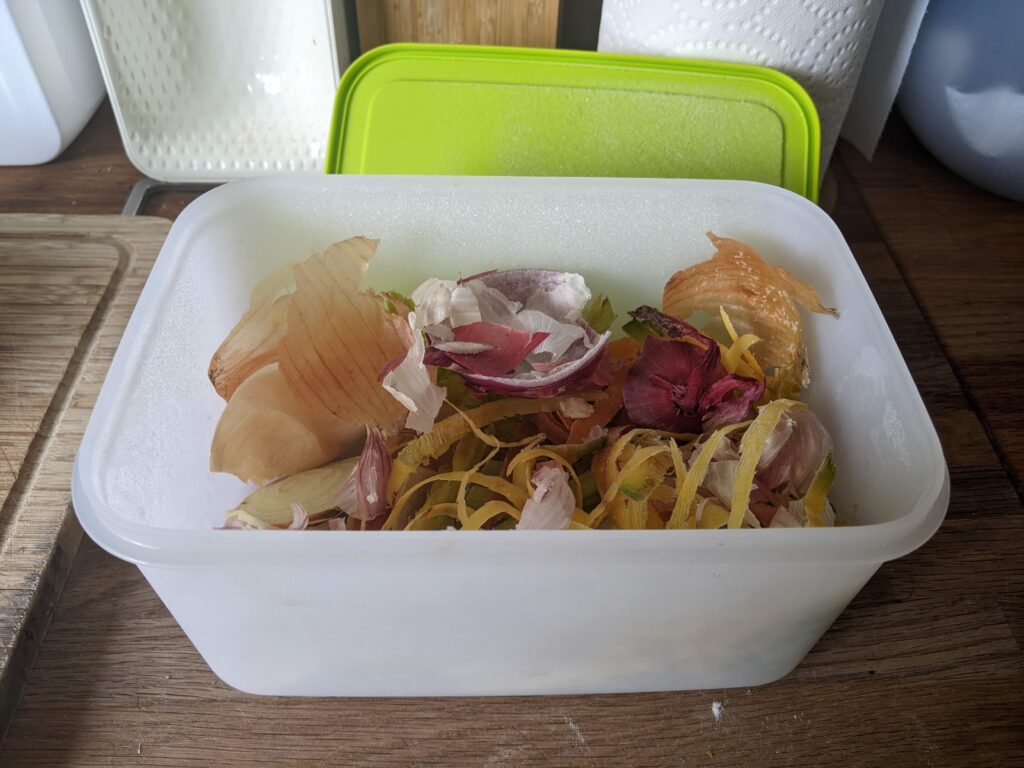
These are literally the bits that would otherwise have ended up in the compost or green bin.
Next, add some bones (optional – if you’re vegetarian or want to make a veggie broth, you can skip this and scroll down to the next step). Use the bones left over from a roast or rotiserie chicken, holiday turkey, or roast pork shoulder, or go to your local butcher or farm and see if they have some soup bones to sell for cheap. If you get beef bones, be sure to roast them in the oven first with some extra veggies, tomato paste, olive oil, salt & pepper.
Save the bones in the freezer over time if you aren’t ready or don’t think you have enough.
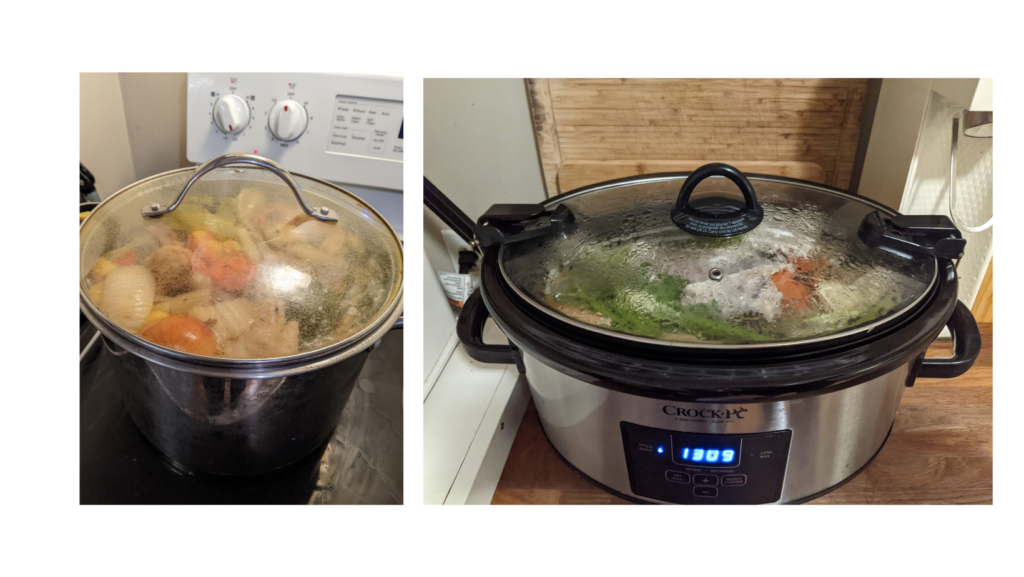
Make the broth
Combine your saved scraps of vegetables and/or bones in a large pot, pressure cooker, or slow cooker (or a combination if you have lots to make!). Add a bay leaf or two, some thyme, a bit of salt, and some whole peppercorns if you’ve got some. Fill with water and bring to a boil, or slow cook on high for 4-6 hours, then bring the heat down to low and simmer for 12, 24, 48 hours or more. Add some boiling water to top it off as it evaporates.
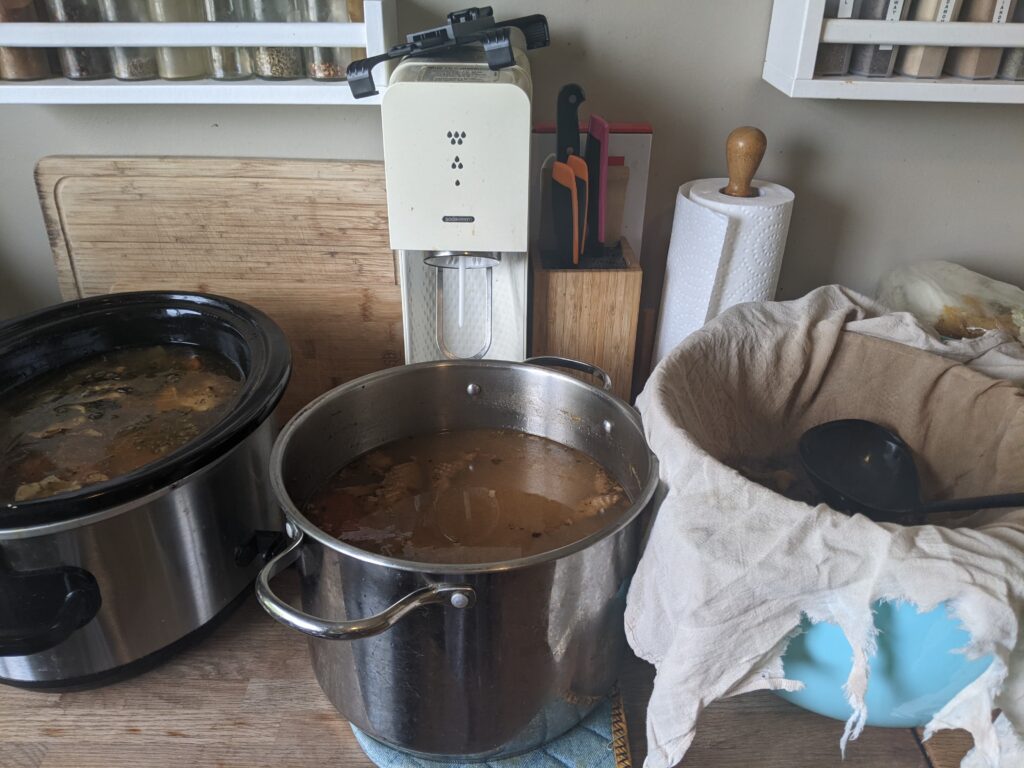
Strain out the solids
Once your broth has been simmering long enough, grab a big bowl or stockpot and a colander, add a flour sack tea towel if you’ve got one, and carefully pour or ladle the broth through the colander into the bowl/pot.
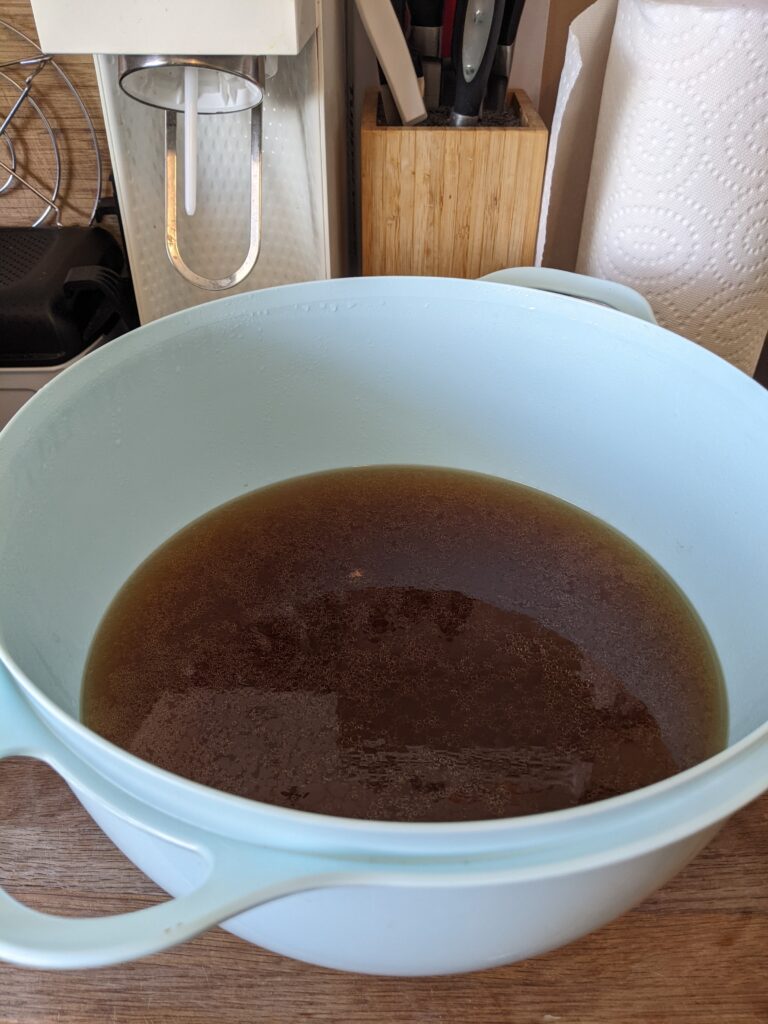
Optional: put the bowl or pot in the fridge until the fat solidifies on top if you’d like to remove the excess fat.
Storage options
If you’re not going to use it right away you can freeze your broth in freezer safe containers, store it in the fridge if you’ll use it within a few days, or (optional) you can use a pressure canner to make it shelf-stable.
*Prepare your pressure canner, jars, and lids. Ladle hot stock into jars leaving 1″ headspace. Wipe the rim with a paper towel moistened with vinegar. Center the lid on the jar and screw the band down until resistance is met, then increase to finger-tip tight. Place jars in the pressure canner. Adjust the water level, lock the lid and bring to a boil over medium-high heat. Vent steam for 10 minutes, then add the weight/close the vent. Continue heating until you reach 10lbs of pressure (adjust for your altitude). Once pressure is reached, process 500mL jars for 30 minutes or 1L jars for 35 minutes, maintainining 10lbs of pressure. Once processing is finished, turn off the heat and let the pressure come down to 0 naturally, then wait 2 more minutes before removing the weight. Wait 5 minutes more and then remove the lid. Wait 10 minutes, then remove the jars, leaving them untouched for 24 hours before removing the rings, checking the seal, washing, labeling, and storing.
*If you’ve never pressure canned before, or are looking for a good source of recipes and instructions for canning safely, I highly recommend learning the basics from the Bernardin complete book of home preserving.